
Last Updated on April 7, 2026
These days, cloud storage services such as Dropbox, OneDrive and Google Drive do much more than just store your files so you can access them from anywhere you have an internet connection. Now these services are capable of much more and depending on how much you are willing to pay each month, you can do just about anything. In this article, we will be showing you how to use Dropbox Automated Folders. And its free to use for any Dropbox account type.
This added functionality means cloud storage has evolved into a productivity tool rather than just a backup location. Features like automation, file processing, and intelligent organization allow users to streamline repetitive tasks without relying on third‑party software. Instead of manually managing files after they’re uploaded, these services can now handle much of the work in the background, saving time and reducing the chance of mistakes.

What Automated Folders does is perform a specific process on any files that are added to that folder such automatically renaming files, categorizing them for you and even converting added files to PDF documents.
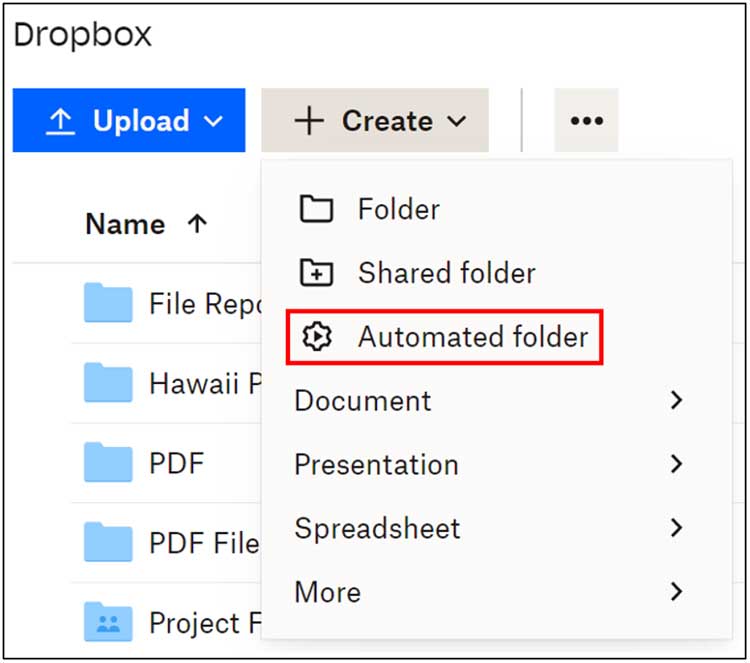
1. Navigate to the Creation Menu
To create an automated folder you must navigate to the exact area in Dropbox where you want this directory to live. Click the Create button near the top of your screen to open the dropdown menu. Select the Automated folder option to launch the built in configuration wizard.
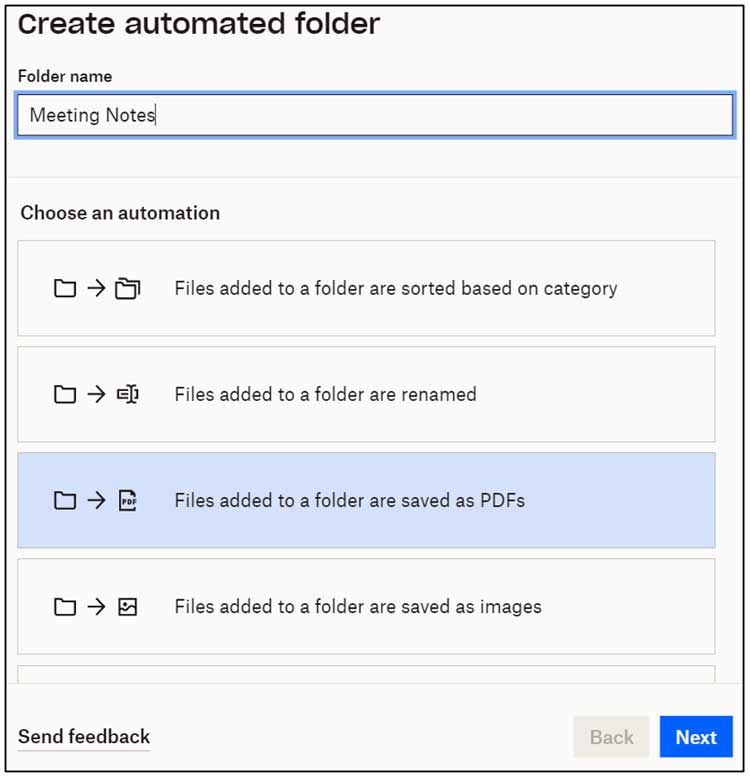
2. Assign a Name and Automation Rule
The setup screen forces you to give the new folder a recognizable name. You must also choose the exact type of background automation you want to trigger upon file upload. I am naming my folder Meeting Notes and setting it to automatically convert any newly added text documents into PDF files.
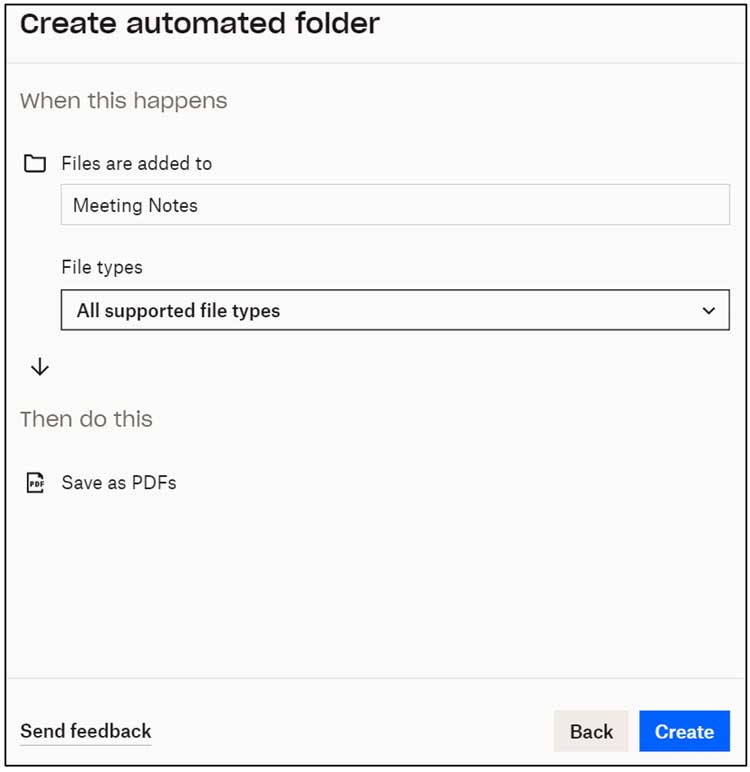
3. Define the Processing Criteria
Every single automation type carries a specific set of rules that you must adjust. This PDF conversion setup asks you exactly which file extensions you want the system to intercept and process. I am choosing all supported file types to ensure maximum compatibility. Complex automations like file sorting offer significantly more advanced filtering options.
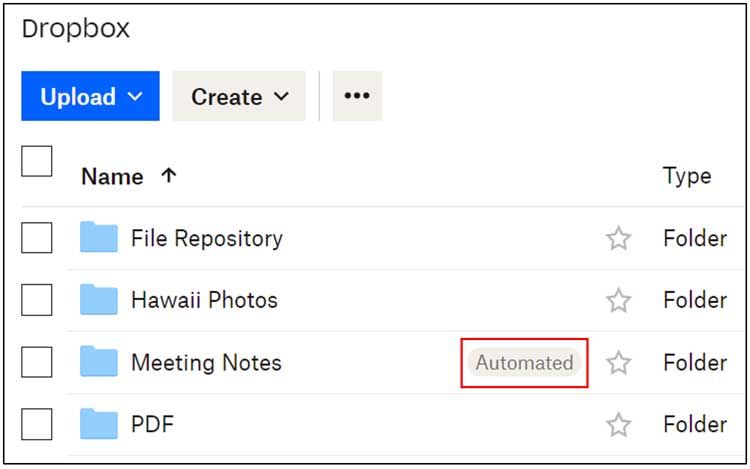
4. Verify the New Folder Label
Dropbox instantly creates the new directory alongside your standard cloud storage folders. You will notice a distinct badge marking it clearly as an automated location. You can always go back later to edit the background processing rules if your daily workflow requirements change.
5. Test the Background Processing
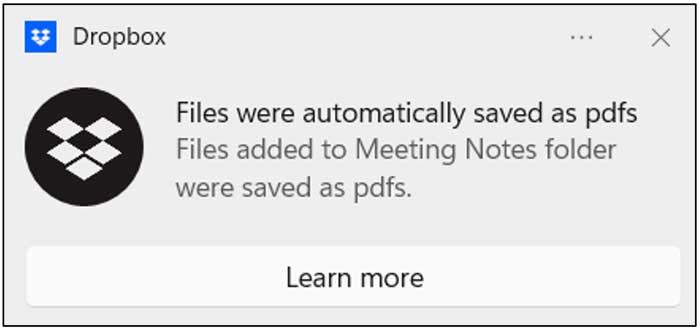
Now you need to test the system by dragging and dropping some Microsoft Word documents straight into the new folder. You can also use the standard upload button if you prefer clicking through your local hard drive. A notification bubble pops up instantly to confirm Dropbox successfully intercepted the files and saved them as PDF files.
6. Review the Converted Files
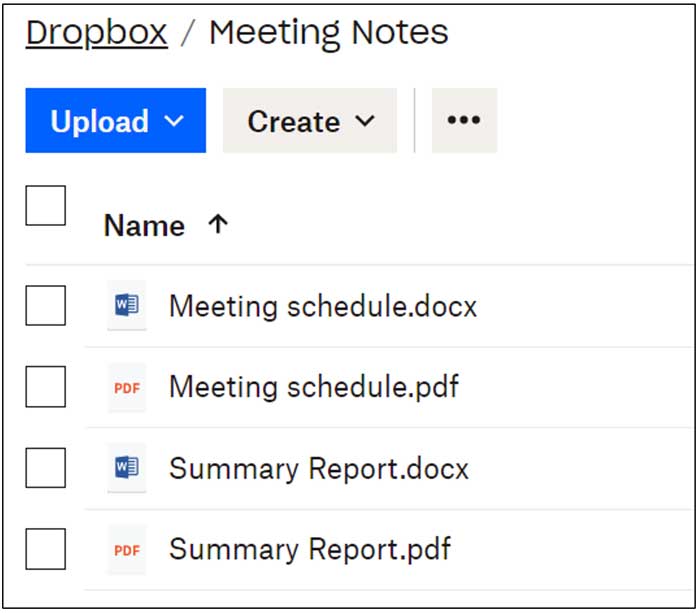
Open the automated folder to view the final results of your background processing. You will see both your original Word documents and their newly generated PDF counterparts sitting side by side. This specific automation does not destroy or overwrite your original file uploads. It simply duplicates the content into the requested universal format.
7. Share the Folder with Coworkers
You can invite other people to collaborate inside this automated Dropbox folder. The exact same processing rules apply to any files your coworkers upload from their own computers. The server intercepts their documents and converts them to PDFs automatically before syncing the changes back to your local desktop.


