As you probably know, you need a hard drive installed in your computer to install an operating system such as Windows, Linux or macOS. You also use your hard drive to install applications and store your personal files and pictures.
Unfortunately, these drives can fail over time and need to be replaced, hopefully before you lose any data! You may also have a situation where you want to upgrade to a faster or larger drive and do not want to have to reinstall Windows and all your programs. Or maybe you built your computer and want to move everything over to its new hard drive. This is where cloning your hard drive can solve this issue. In this article, we will be showing you how to clone your Windows OS\system drive for free with Foxclone.

To use Foxclone, you will need to download the ISO from their website here. Then you will need to use an imaging type application to create a bootable USB flash drive or CD with the Foxclone software. You will also need to know how to configure your computer to boot to this flash drive and not Windows.
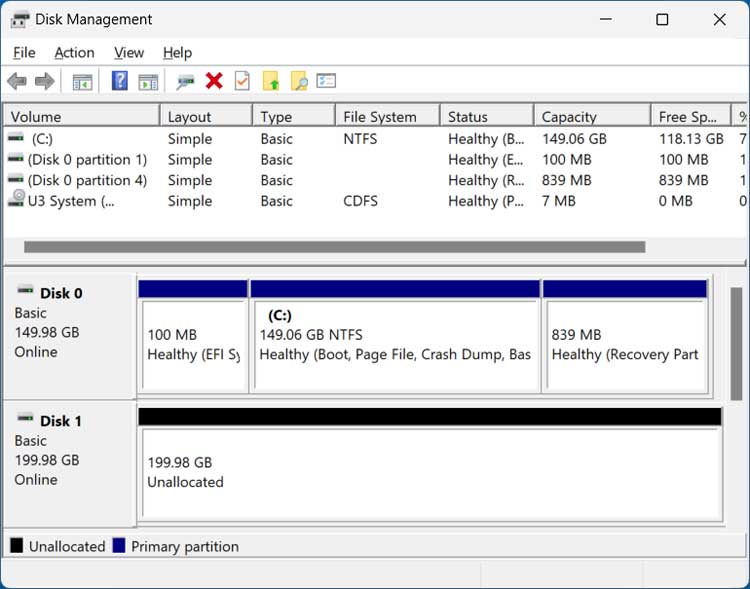
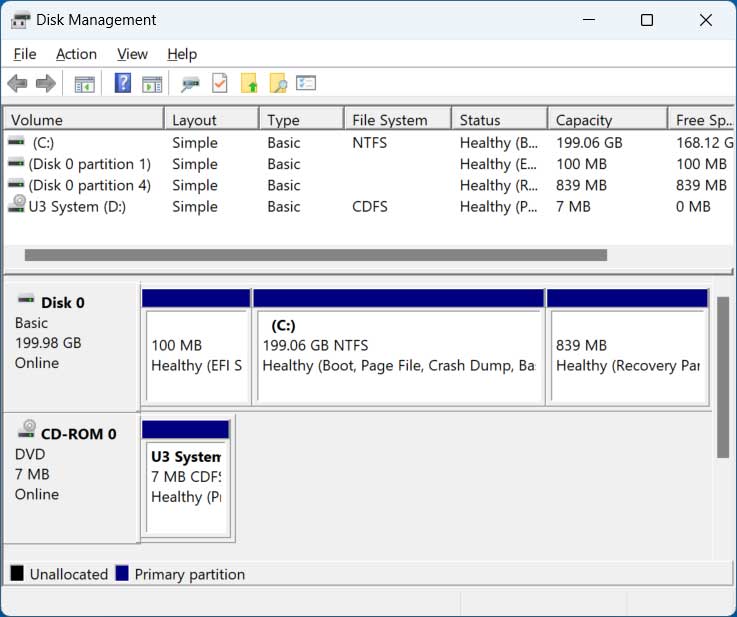
Before we begin, let’s take a look at the Windows Disk Management tool. Here you can see that we have our Windows drive which is listed as Disk 0 and is 15GB in size. This also includes an EFI system partition and a recovery partition which will be cloned as well. The disk we will be cloning our Windows drive to is labeled as Disk 1 and it is 200GB in size. Its show as unallocated space and there are no partitions or drive letters configured.
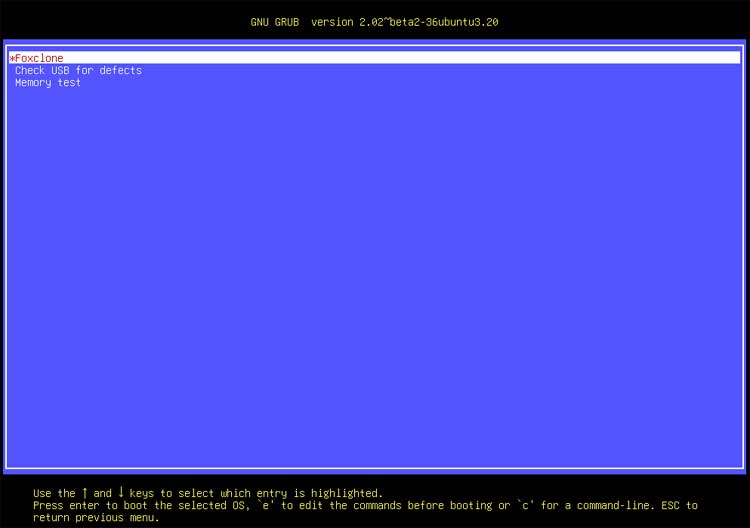
We will now boot the computer with the Foxclone flash drive and will see the initial Foxclone menu. Here we want to choose the first option and as you can see, there are also options to check your USB drive for errors or run a memory test.
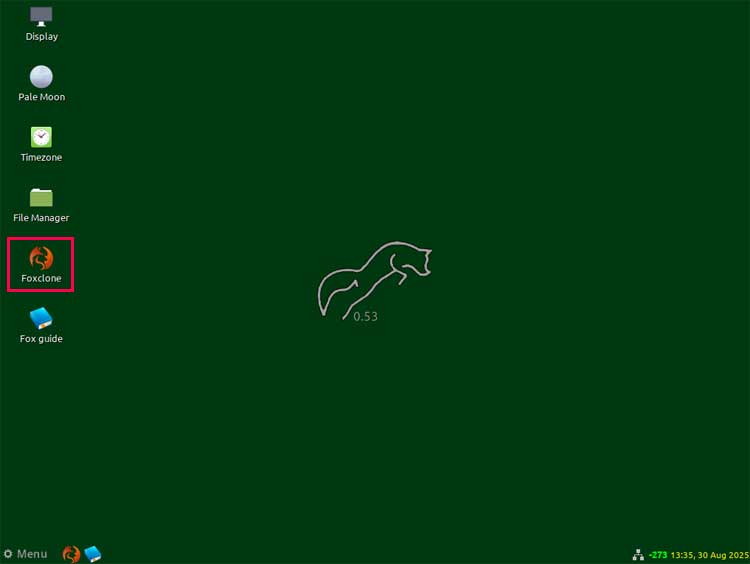
You will then see a desktop type screen with several icons. We will want to double click on the Foxclone icon to start the program.
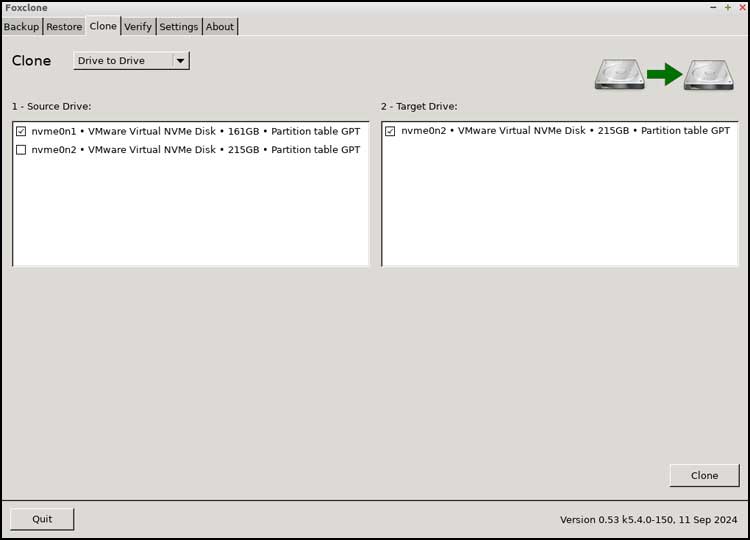
Next, we will select the Clone tab and make sure the clone option is set to Drive to Drive.
Now we will select the source drive from the Source Drive box. You will need to make sure to choose the right drive (The one with Windows installed) so you do not accidentally clone over your system drive.
Then for the Target Drive box, you should only have one option which will be the other blank drive. If you have more than two hard drives in your computer, they will probably show up here so be sure to choose the right one.
Once you have the source and destination drive selected, click the Clone button to start the process.
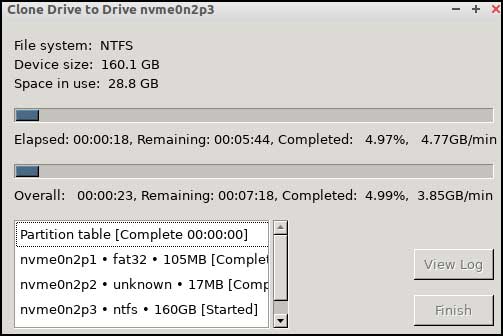
You will then be shown all the partitions that will be cloned, and they should all be checked by default. You can then click the OK button.

The cloning process will begin and can take several minutes to complete based on the size and speed of your hard drives and how much data needs to be transferred over.
When the cloning process is complete, you can then click the Finish button.
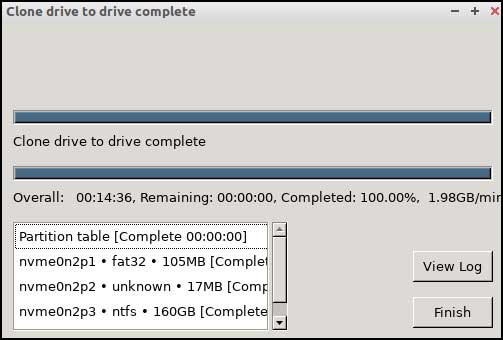
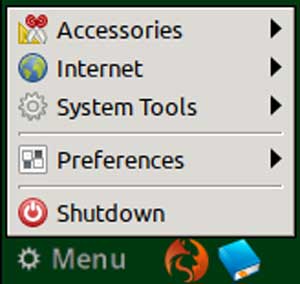
You can then close Foxclone and click the Menu button in the lower left corner and then click on Shutdown and either restart your computer or shut it down.
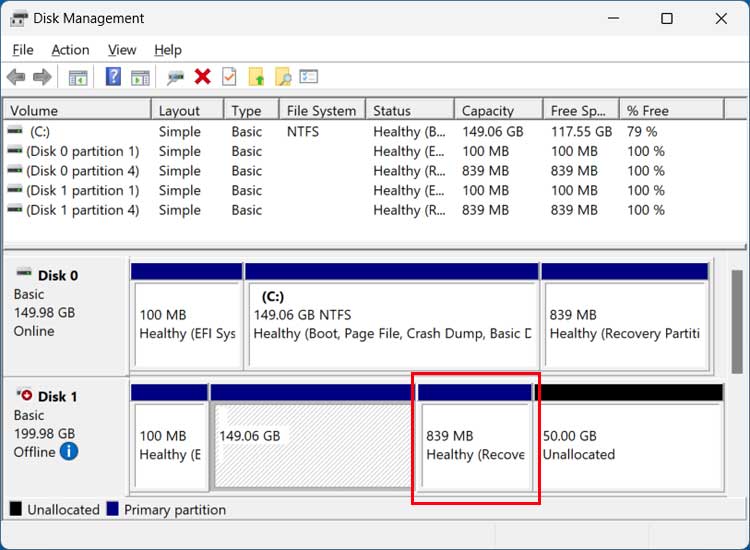
We will now restart the computer so we can compare the old drive and the new one in Disk Management. As you can see from the image below, we have 50GB of unallocated space since the new drive is 50GB larger than the old one. In order to expand the drive to use the rest of the unallocated space, we will need to move the 839MB recovery partition out of the way so the 150GB and 50GB partitions are side by side.
You can do that before swapping out the drives or after but if you do it before, you will need to initialize the new drive so it’s not offline. We will now shut down the computer and remove the old 150GB to make sure we can boot Windows from the cloned 200GB drive.
The image below shows Disk Management after removing the old 150GB drive.

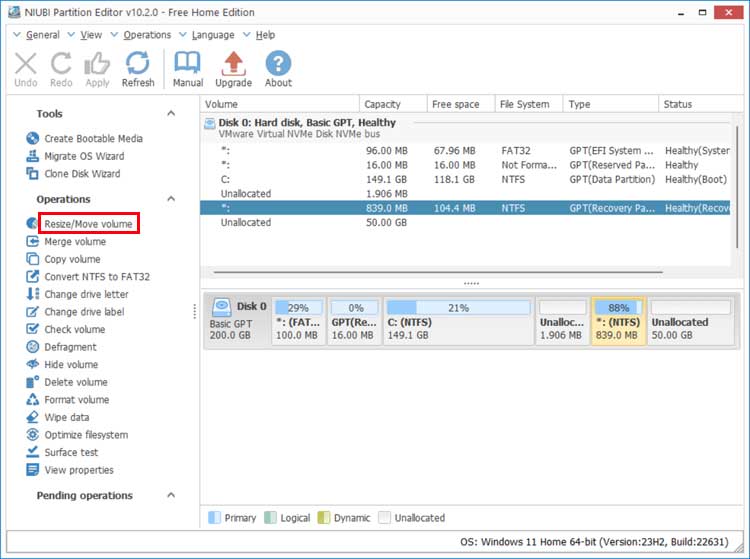
To move the recovery partition out of the way we will be using the free NIUBI Partition Editor software which can be downloaded here. You can run the installable version of the portable version and either one will work.
You will notice that the NIUBI Partition Editor software looks similar to Disk Management but with more features. From there, we will select the partition we want to move and then click on Resize/Move volume on the left.
We will then drag the partition all the way over to the right and click the OK button.
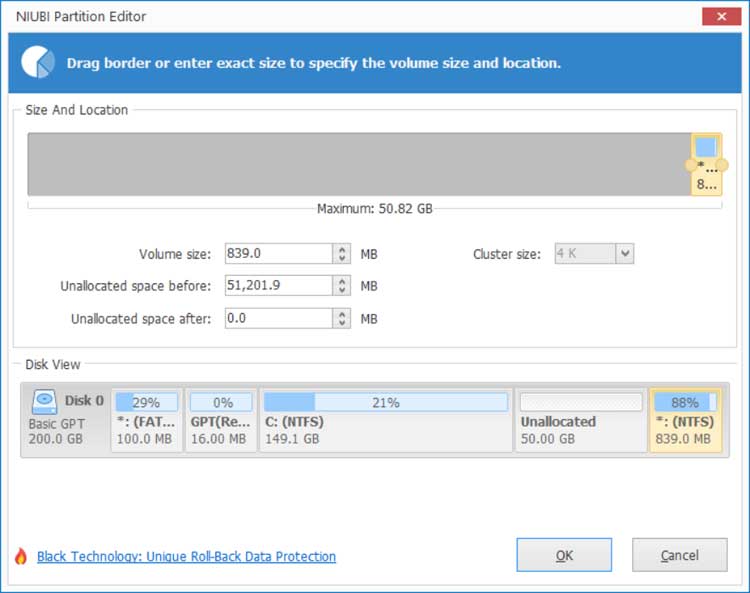
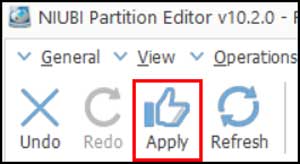
We will then need to click the Apply button at the upper right otherwise the move operation will not be applied to the drive.
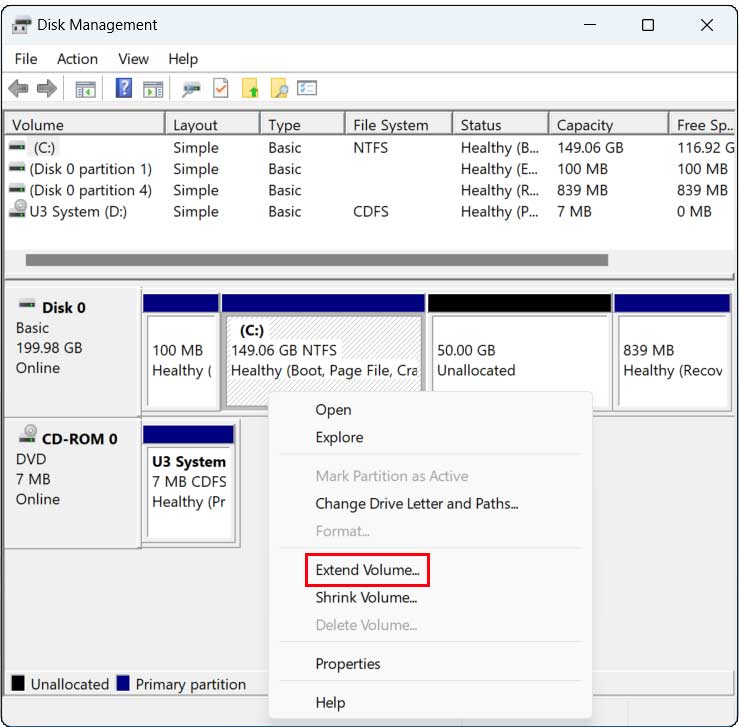
We can extend the drive using NIUBI but we will now go back to Disk Management and can see that the C drive and 50GB of unallocated space are now next to each other. We can then right click the C drive partition and will now have the Extend Volume option available.
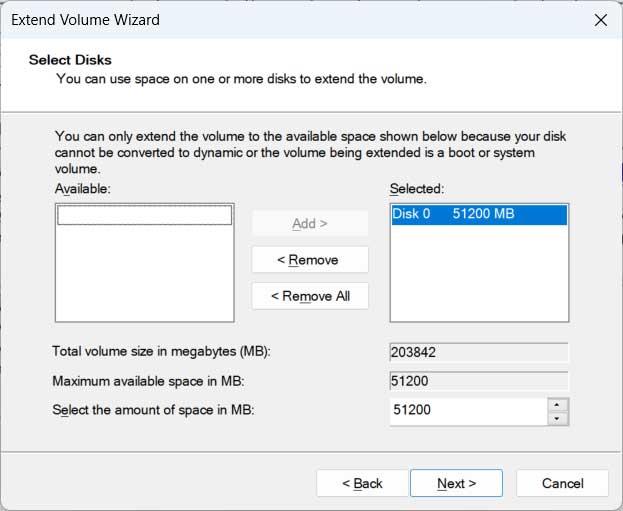
We can then allocate all or part of the unallocated space to our C drive and finish the wizard to have it applied.
Now you can see that we have used all the free space from the larger drive for our C drive and we can now use our computer with our new drive.
For additional training resources, check out our online IT training courses.
Check out our extensive IT book series.