
Last Updated on January 28, 2026
Configure a Domain Controller Using Installation Media
When you have a Microsoft Windows domain its essential to have more than one domain controller for redundancy and load balancing especially in larger environments. If you have multiple sites sometimes it’s a good idea to have a domain controller at a remote site if you have a slow connection back to your main site to avoid connection and performance problems.
Normally when you add an additional domain controller to your domain you do it from Server Manager or PowerShell and the server connects to another domain controller for its configuration and you go through the add a domain controller wizard and its pretty straightforward. But if you are at your remote site and you have a poor connection or the connection is down for maintenance etc. and you need to add the a new domain controller before it comes back you can install a domain controller using the Windows installation media.
The way this is done is by exporting Active Directory information from a running domain controller and using that information to configure a new domain controller. There are some requirements to perform this procedure so you need to make sure that they are met before trying the process.
- The new domain controller must be a part of the same domain as the domain controller you are exporting the settings from.
- This process can’t be done on the first domain controller of a domain because you don’t have any other domain controller to get the settings from.
- If you plan on the new domain controller being a Global Catalog Server then the domain controller you export the settings from must be a Global Catalog Server as well.
- If the new domain controller will be a DNS server then the domain controller you export the settings from must be a DNS server as well.
Now let’s go over the steps required to export the settings from the existing domain controller and then how to install the new domain controller using those exported settings.
Exporting the settings from an existing domain controller
The first step to this process is to export the Active Directory settings from an existing domain controller that meets all the requirements for this process. We will be using Windows Server 2016 in our example and will be configuring a full domain controller. You will also be able to configure a Read Only Domain Controller (RODC) if you want using this method.
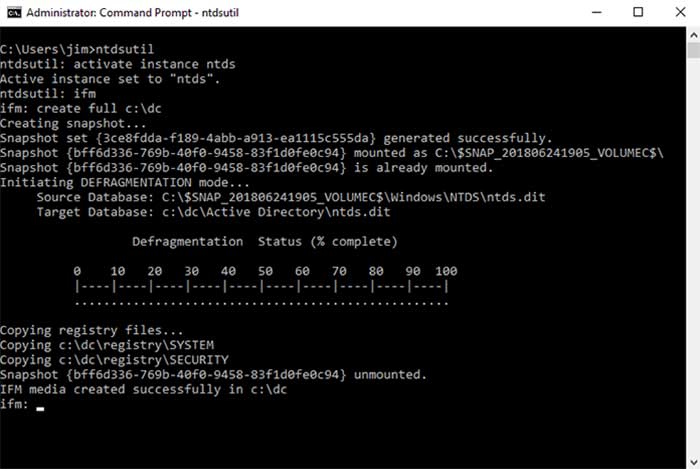
- On the source domain controller open a command prompt and then type in ntdsutil and you will then get a prompt that says ntdsutil:
- From there type in activate instance ntds and press enter and you should get a message saying Active instance set to “ntds”.
- Next you will type ifm and press Enter and you will now have a prompt that says ifm:
- Since we are using a full domain controller we will now type in create full along with the path to the location of where we want to save the file. In our case it’s on our C drive in folder called dc so we would type create full c:dc. If you were doing a RODC then the command would be create rodc c:dc.
- If you want to create media with SYSVOL contents included for a writable DC, then the commands you would use would be create sysvol full <path> or create sysvol rodc <path>.
- When it says IFM media created successfully you can then quit by typing in quit and then quit again at the next prompt.
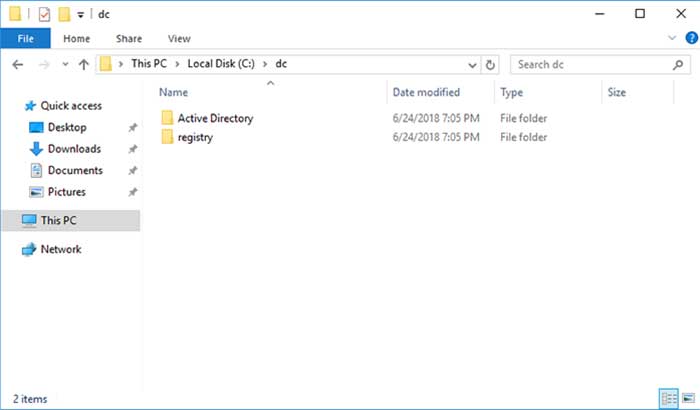
If you look in the folder that you specified in the command you will see the files that were created by the process.
Creating a new domain controller using the imported settings
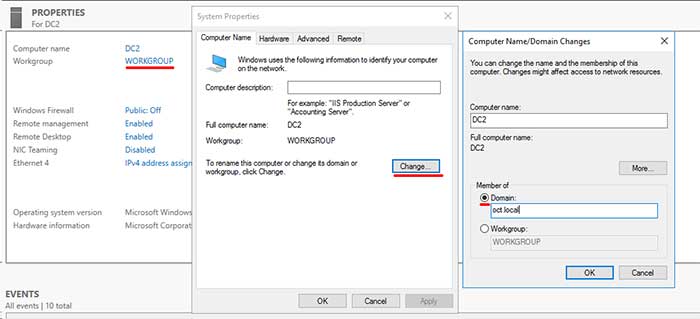
If you haven’t done so already, you will need to join the server that will be the new domain controller to the domain before you can promote it to a domain controller. Go to Server Manger and click the workgroup name for your server and then click the Change button to join the computer to the domain. Type in the domain name of your existing domain and click OK. You will have to reboot the server for the changes to take effect.
Now that we have our domain controller configuration files that we exported from our source domain controller we need to get them over to the new domain controller either over the network or on a flash drive etc. You can just copy the files or folder to the same location on the new domain controller to make things easy.
Before we can start the configuration import you will need to install the Active Directory Domain Services role on the new domain controller. Here is how you complete this process.
- Open to Server Manager
- Click on Add roles or features under the Dashboard section
- Choose Role-based or Feature-based installation
- Select your server from the server pool. It should be selected by default
- Check the box for Active Directory Domain Services
- Click on the Add features button in the window that pops up to install the additional required features
- In the following features window just click on Next rather than selecting any of the options
- Finally click on Next and then Install and allow the process to complete
Now that the Active Directory Domain Services role is installed we can promote this server to a domain controller using the media we created from the source domain controller. Back in Server Manager at the top right of the window you will see a flag with a yellow exclamation point next to it indicating that there is a pending notification. Clicking on the exclamation point will bring up the notification telling you that you can promote the server to a domain controller. Click on the blue link to start the promotion process.
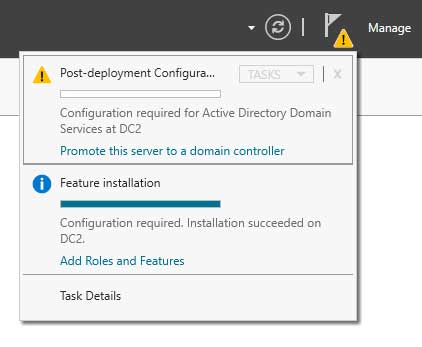
After clicking the Promote this server to a domain controller link you will be presented with a new wizard to walk you through the process.
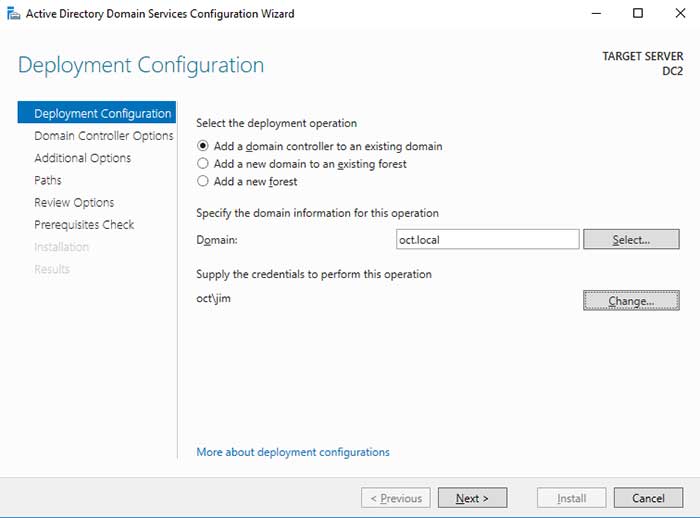
In the first step of the wizard you will check the radio button for Add a new domain controller to an existing domain and then enter the domain name of your existing domain in the Domain box as well as the credentials of a user account with rights to add a new domain controller to a domain and then click on Next.
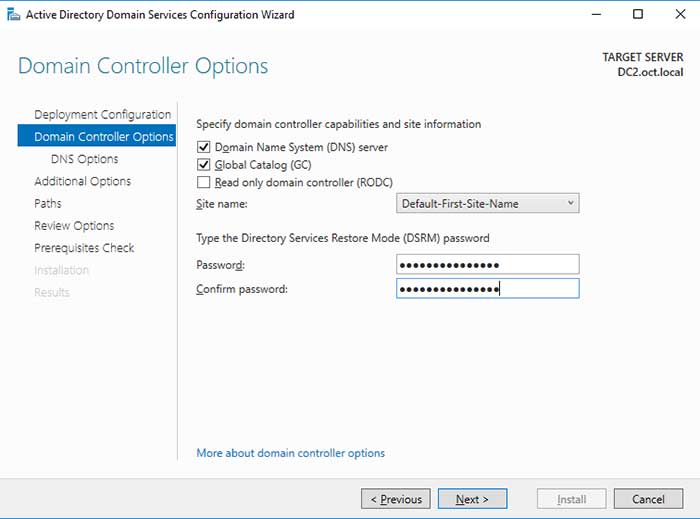
In the next step of the process for domain controller options you are usually ok with the defaults and you just need to come up with a Directory Services Restore Mode password just in case you need to recover your server if it fails.
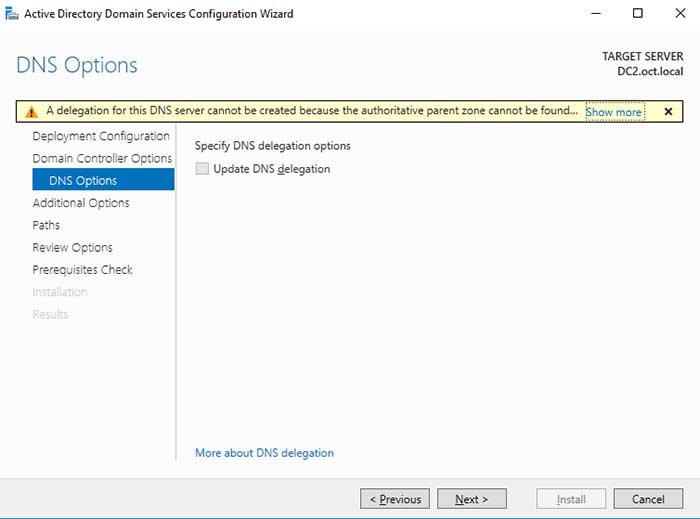
The next step goes over DNS configuration options but if you already have DNS configured on your domain which you should you can ignore the warning and click on Next.
Now you will get to the part where you need to specify the path to Install From Media (IFM) files that you copied over from the domain controller you exported them from. In our case they were located in C:dc.

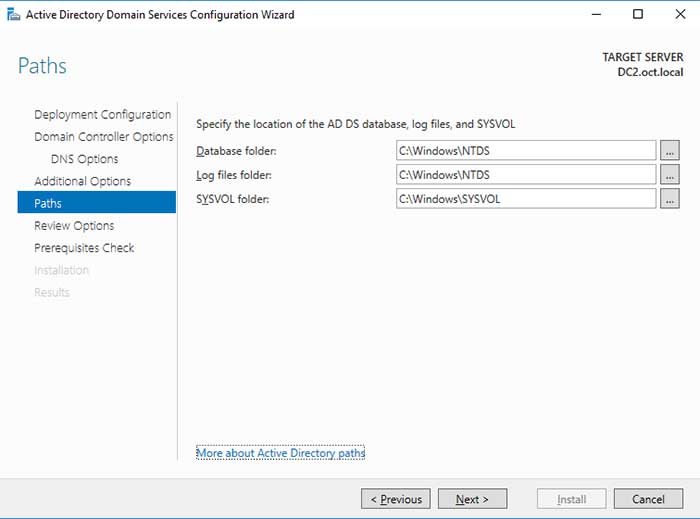
For the Paths section you can leave the default locations and click on Next.
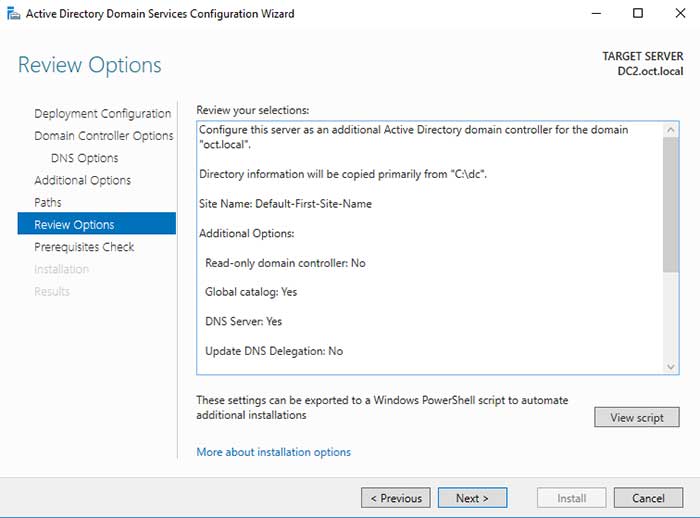
Then you will review your selections and if everything looks good click on Next.
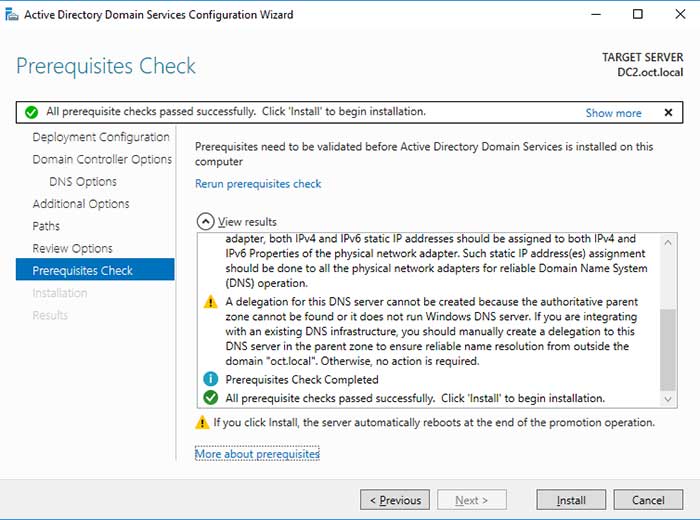
If there are any configuration errors or warnings they will be listed on the next screen. If it’s something important then you can cancel the wizard, fix the error and try it again. Otherwise you can ignore any warnings that won’t affect the installation and as long as the prerequisite checks pass then you can click on Install to begin the installation process.
During the installation it will show you the same warnings again but it will still go ahead with the installation process. Then you will need to reboot the server and then you can sign back in with a domain administrator account and make sure all the typical Active Directory tools were installed.
For additional training resources, check out our online IT training courses.
Check out our extensive IT book series.


