
Last Updated on March 17, 2026
Now that many people have multiple computers in their home they are starting to look more into sharing resources like printers rather than buying one for each computer. If your computers at home are using a router for shared Internet access then you can also share your printer as well so you can print to it from other computers on your home network.
Windows allows you to share your printer over your work or home network to allow other computers that are not directly connected to the printer to print to it. This is different from having a wireless printer that doesn’t rely on the computer connected to it to share the printer out. Printer sharing is when you share a printer connected to an actual computer making that computer the print server for any other computers that print to its installed physical printer.
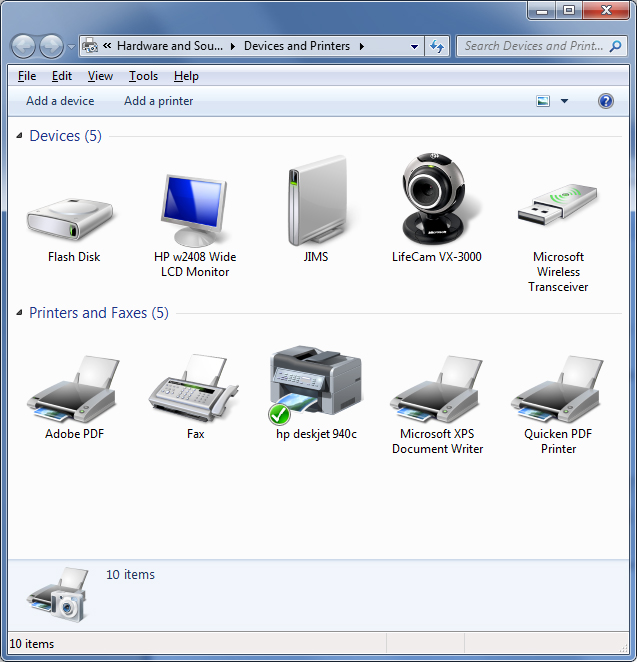
With printer sharing you will have the computer that is attached to the printer share out the printer so other computers can access it as if they were attached to it as well. This is a fairly easy thing to setup. First go to your printer by clicking on Start and then going to Devices and Printers. From there, double click on the printer you want to share. This can be done with multiple printers if you have more than one.
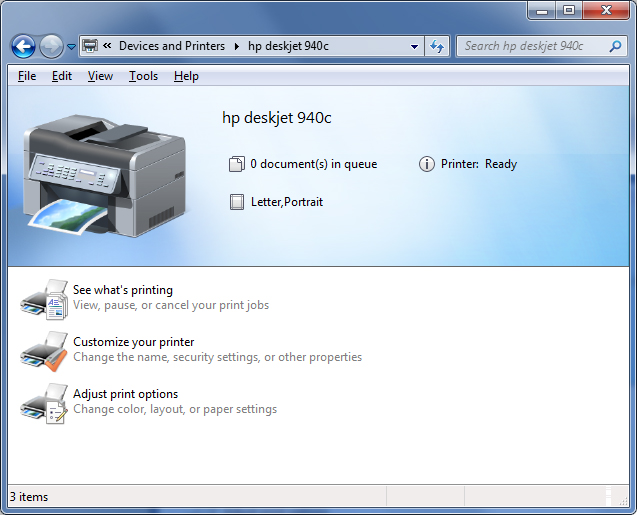
Then click on Customize your printer to bring up its properties.
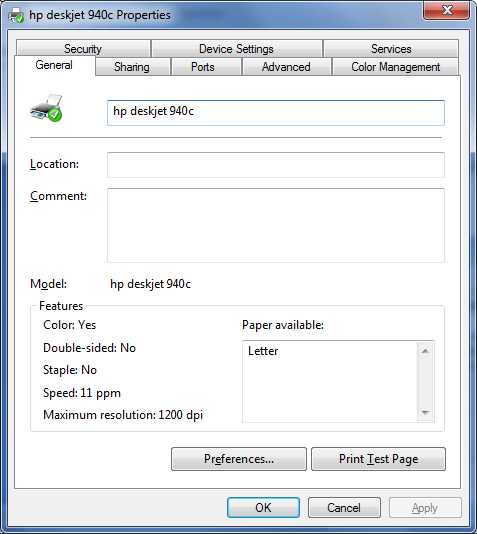
Click on the Sharing tab and check the box that says Share this printer. You can keep the default name or make it something else if you prefer. This is the name that will be displayed when they attach to your shared printer over the network.
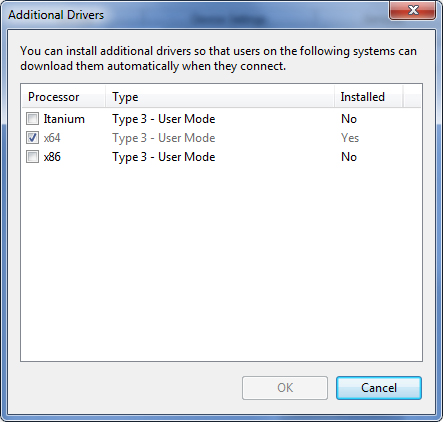
If the other computers that will be using this computer need different drivers such as a 32 or 64 bit driver then click on Additional Drivers and check the appropriate boxes.
Now when you search for your Windows computer that has the printer attached to it over the network it will show the shared printer. Then you would simply double click the printer to install it on your system. You can also share files and folders in Windows if needed.
For additional training resources, check out our online IT training courses.
Check out our extensive IT book series.


