
Last Updated on August 10, 2026
Any computer power user at some point needs to either find some text in a document or replace text within a document. For example let’s say you have a document with a certain date for a meeting all throughout the document. Then the meeting date changes and you want to be able to quickly change that date in the whole document and make sure you changed all instances of that date entry.
Find and Replace is a feature in almost every program where you would have text entries from a Word document or Excel spreadsheet to a Notepad file. WordPad for some reason does not have a find and replace feature. Find and Replace allows you to search a document for a certain word or phrase based on criteria you choose. It also allows you to replace a word or phrase with another word or phrase.
Locating the Find and Replace Tool
1. Navigate to the Home Tab
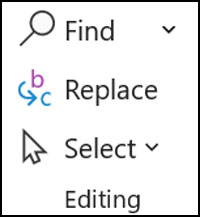
Getting to the Find and Replace option will vary slightly depending on the exact program you are using. Older software applications usually hide this feature under the top Edit menu. For newer versions of Microsoft Office you will find it under the Home tab. Look on the far right side of the ribbon menu.
2. Click the Ribbon Buttons
There may be a separate item for Find and a different button for Replace. They will usually both take you to the exact same popup window just on a different tab. Click either of these buttons to launch the search utility on your screen.
Searching for Specific Text
1. Enter Your Search Word
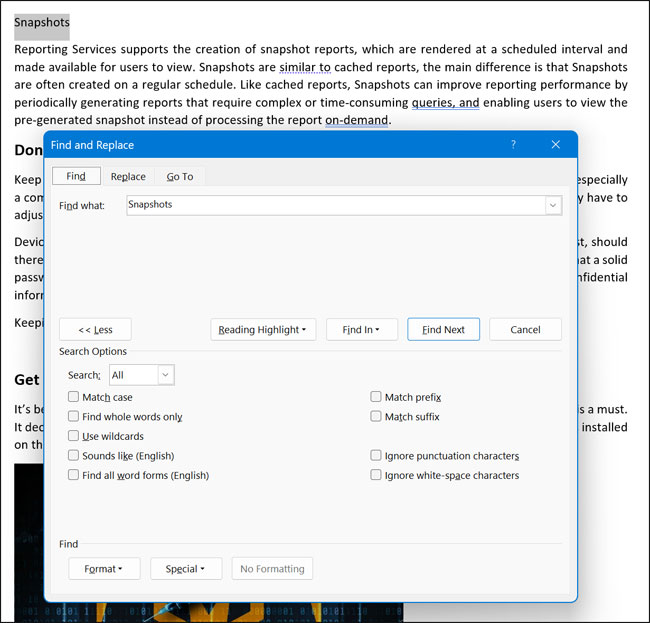
Once you are in the document you want to make changes to, simply open the Find and Replace window. Choose the appropriate tab based on exactly what you want to do. In this example we are trying to find the word snapshots in a Word document. We typed snapshots directly into the Find what box.
2. Click Find Next
After typing your target word you will click on the Find Next button. Each time you click on Find Next it will take you to the next instance of the word you are searching for. The software highlights the active word so you can read the surrounding sentence.
3. Highlight All Instances
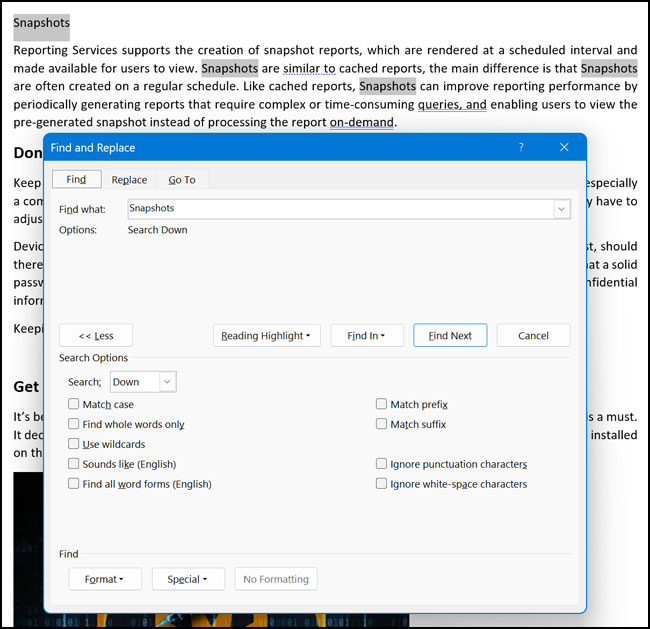
You might want to see every single instance of the word highlighted on your screen at the exact same time. To do this you must click the Find In button. Then you will choose Main Document from the dropdown menu. Word will instantly highlight every matching text block.
4. Use Advanced Search Options
There are other advanced options you can use in your search to narrow down the results perfectly. You can check the box for matching the exact case of a word. You can also tell the software to ignore punctuation characters during the search process.
Replacing Text Globally
1. Switch to the Replace Tab
The Replace option is used when you want to replace a certain word or phrase with another word or phrase. This comes in very handy if you want to make a global change to your document. You do not want to have to search the whole file manually to find that specific word.
2. Enter Your Replacement Text
Click on the Replace tab at the top of the window. Enter the word you want to find in the top box. Then type the word you want to replace it with in the bottom box. In this example we replaced the word snapshots with the same word but all capitalized as SNAPSHOTS.
3. Execute the Replacement
Click the Replace All button to instantly swap every matching word in your document. The software will process the request and pop up a confirmation box. It tells you exactly how many times it replaced the word you were searching for.
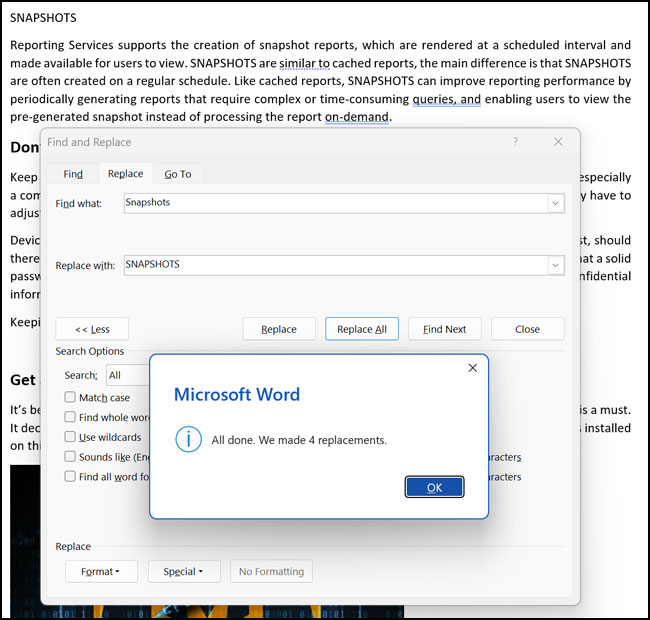
Once again it told us how many times it replaced the word we were searching for.
For additional training resources, check out our online IT training courses.
Check out our extensive IT book series.






