Last Updated on April 7, 2026
If you are into photo editing and want some affordable software that is easy to use yet powerful enough to create professional looking results, then Adobe Photoshop Elements might be the program for you. It’s based off the very powerful and very expensive Photoshop CC or Pro that is usually overkill for an amateur or home photo editor. In this tutorial, we will be showing you how to create a clipping mask in Adobe Photoshop Elements.
One of the reasons clipping masks are so popular is because they give you clean, polished results without permanently altering your original images. Instead of erasing parts of a photo or experimenting with complicated selections, a clipping mask lets you non‑destructively control exactly where an image or texture appears. This makes it easy to tweak, replace, or refine your design later, which is especially helpful when you’re learning or experimenting with different visual ideas.

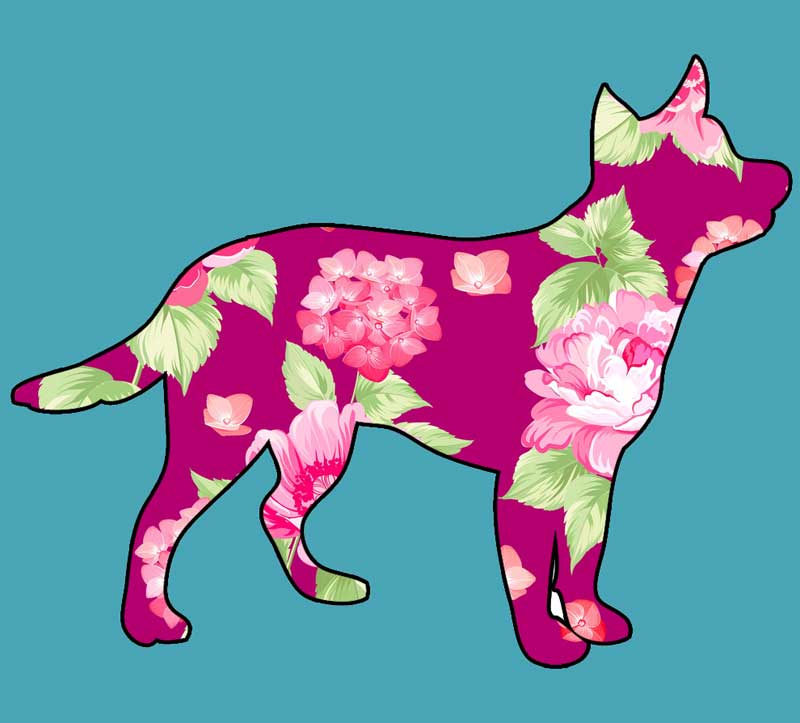
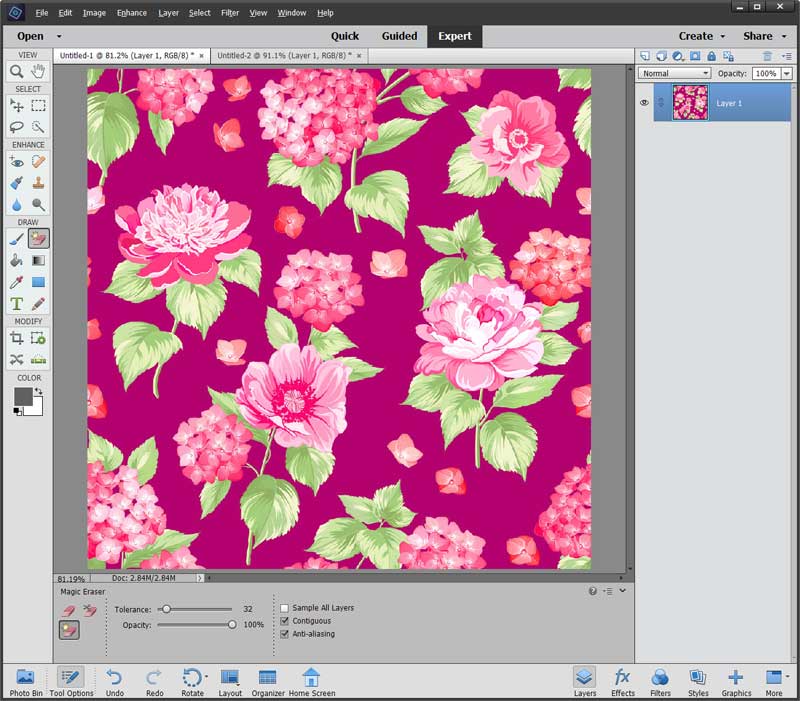
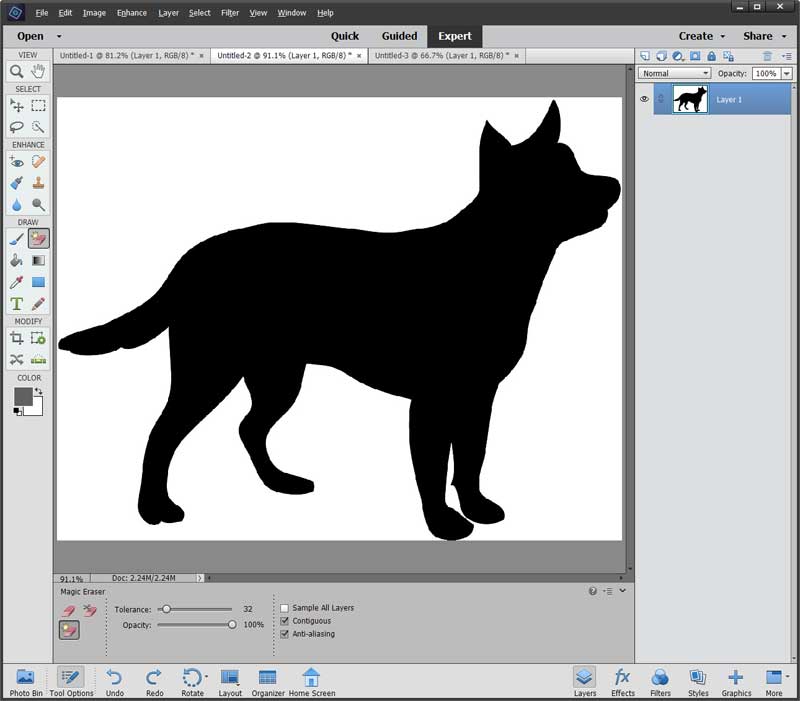
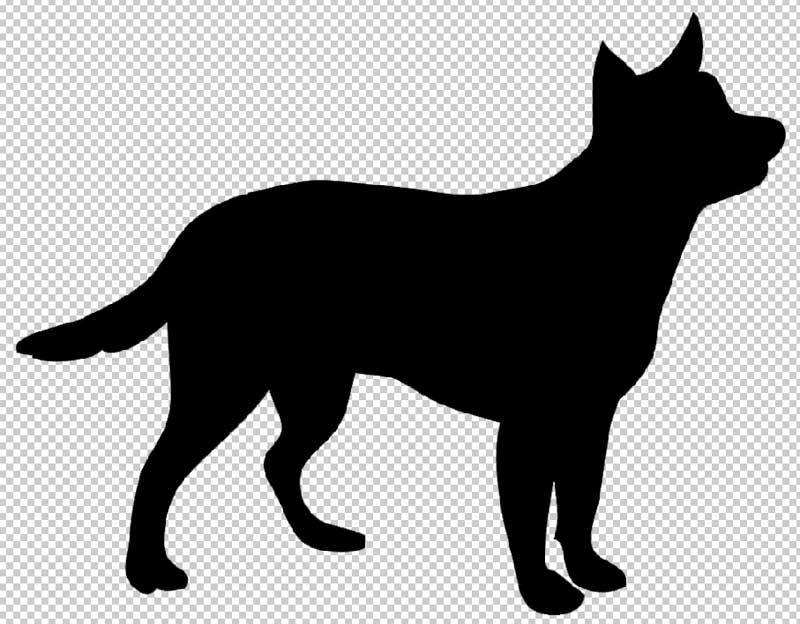
A clipping mask can come in handy when creating custom designs and will let you apply a background or other image to another picture or even text to sort of merge the two together. Let’s say you had a flower background as seen below and wanted to apply that background to a dog image as seen below that.
Creating a transparent background
To accomplish this, you can use the clipping mask feature, but you will need to prepare your non background image first. As you can see in the image above, it has a white background so if we were to copy and paste this image on top of our flower background, the white background would go with it.
To get around this, we need to remove the white background, or make it transparent. There are a couple of ways to do this such as using the Quick Selection tool to draw around the dog or have it select the dog. An even easier method is to use the Magic Eraser tool which is the eraser with the gold star on it.
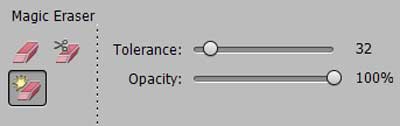
All you need to do with the Magic Eraser is click on the part of the picture you want to make transparent. If you have a more complex image with different colors and shading, you might need to adjust the tolerance level so it doesn’t erase more or less than it should. Now your images should have a grey and white checkerboard pattern in the background indicating that it is transparent.
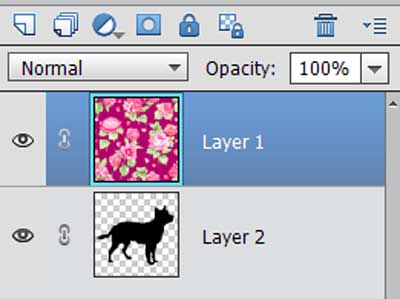
Now you can simply use the Rectangular marquee tool to draw a box around the dog image in our example. Then go to the Edit menu and choose Copy merged. Then go to your background image and paste the copied image (or text) on top of your background.

Creating the clipping mask
Next you will need to rearrange your layers by dragging the background to the top or the other image to the bottom from the layers section as shown below.
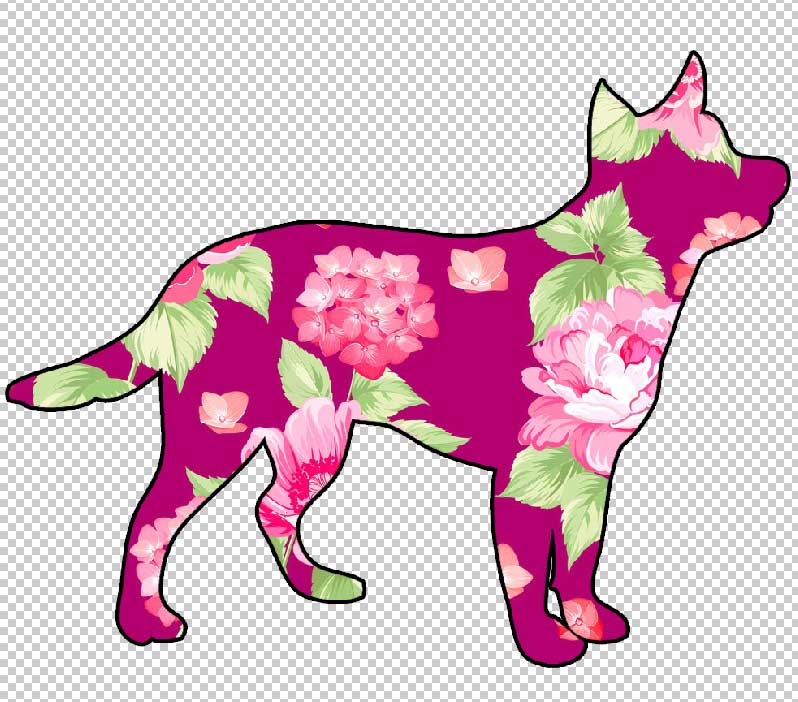
Now make sure that the top\background layer is selected as seen in the image above and go to the Layers menu and choose Create Clipping Mask. You should then end up with your background pattern or picture covering your other picture as seen below.
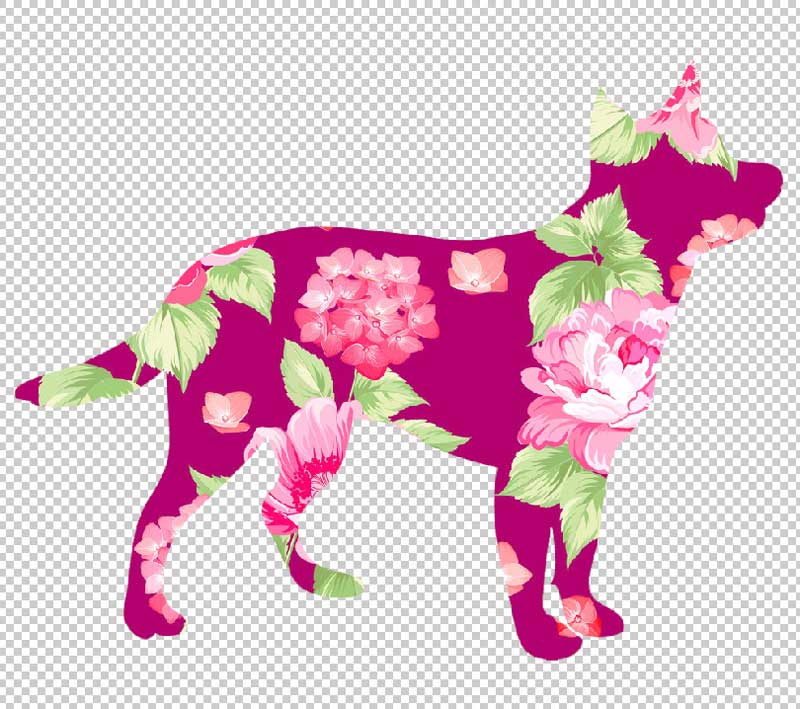
Just be sure to position your top picture where you want on the background before applying the clipping mask because that will determine which part of the background will appear on your image.
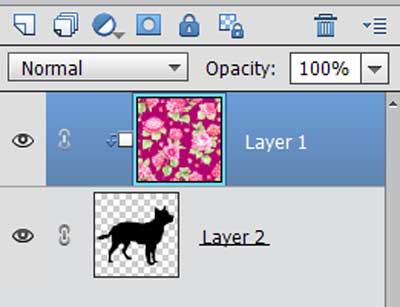
You will now see that your background layer is indented to the right and there will be a tiny arrow connecting it to the layer below. This indicates that the clipping mask has been applied to that layer.
Formatting your picture
Now that you have created your clipping mask in Adobe Photoshop Elements, you want to enhance your new image a bit by adding a border around it, you will first need to go to the Layer menu and choose Merge Down or Merge Visible and you will notice that your 2 layers are combined into one.
Next you can right click on your image and choose Edit layer style. Then you will want to check the box next to Stroke. You can then choose an outline width with the Size slider and then click on the color box next to px to choose a different color from the default black if you desire.
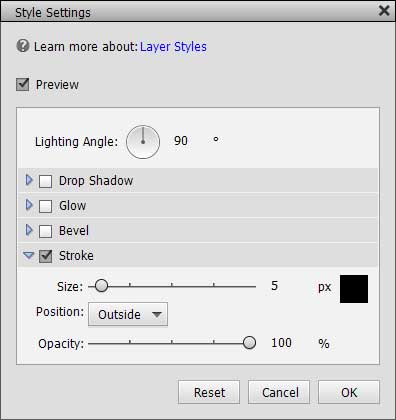
After you click on the OK button you will see your image with its new outline applied.
You can even use the Paint bucket tool to fill in the background if you don’t want it transparent. But if you have applied a stroke\outline, you might want to go to the Layer menu and choose Flatten image first, otherwise your outline might get filled with the color.