Photoshop Elements is the "easier to use" version of Adobe Photoshop Professional or Creative Cloud (CC) as its known. Photoshop Elements doesn’t have all the power features as the professional version does but its much cheaper and designed so that beginners can easily edit and fix their photographs without too much of a learning curve.
One common thing that many people like to do with Photoshop is crop one of their pictures into a shape so its not just a box or a rectangle. You can take any shape you like and make your image into that particular shape. You can use the built in shapes that come with the Shape Tool or you can find a picture of any shape that you like, or even text and have your picture "become" that shape.
In this article we are going to take a picture of a dog and also a heart shaped image and transform the dog picture into that heart shaped image. We will show you a couple of different ways to do this that will give you slightly different results so you can use the method that works the best for you.
To begin we have our heart shaped image open in Elements as seen below. Notice how it has a white background and black border around the heart.
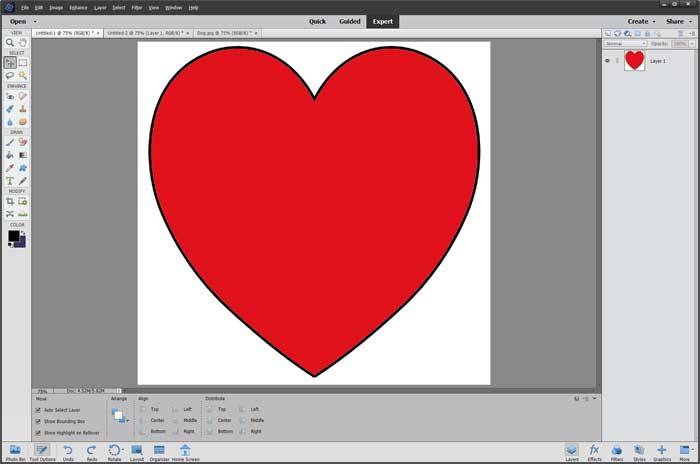
The first step involves using the Magic Eraser tool which is the eraser with the star looking object behind it and erasing the white area outside of the heart. They key here is to make sure that you are using a transparent background for your shape so if you are opening an existing image you will want to add a transparent background to your project. To do so you will need to go to the Layers window and right click the Background layer. Then choose Layer From Background and leave the options as is and click OK.
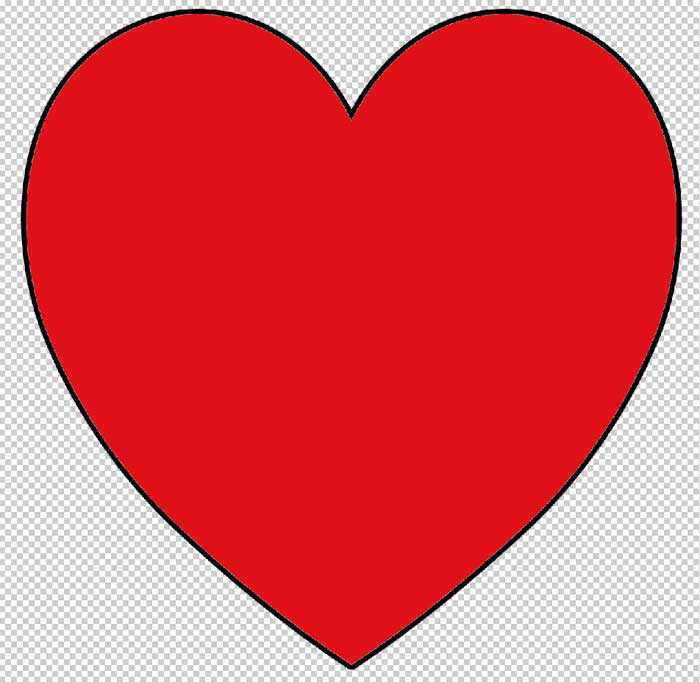
Now you can see that our heart image now has a transparent background noted by the grey and white checkerboard pattern.
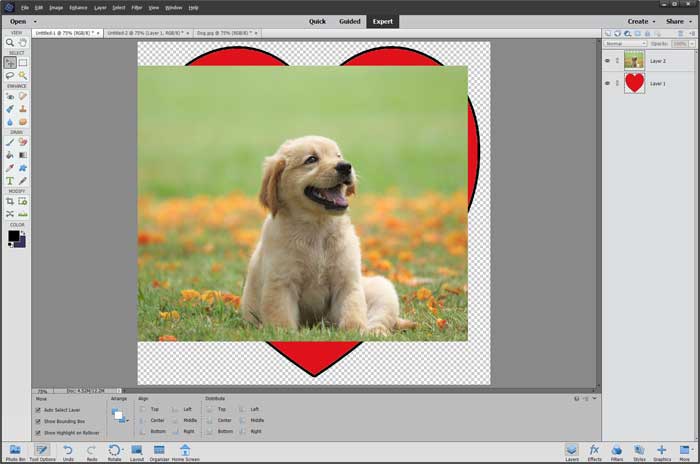
Next we will want to go to the dog picture and draw a box around the are we want to use with the Rectangular Marquee tool. Then we can click on the Edit menu and choose Copy and go back over to the heart image and then paste it in. From there you will use the Move tool to reposition and resize your image so it fits over the heart the way you like it. Just be sure to resize your image rather than stretch it out so it stays uniform. The image below shows the pasted dog picture before resizing it to fit over the heart. It doesn’t have to be perfect because you can still adjust its size and position after the cropping step.
The next step is where the cropping takes place. You will need to click on the Layer menu and then select Create Clipping Mask to have the dog shape be cropped to fill the background shape as seen below. You can then move your image around and resize it to adjust the fit if needed.
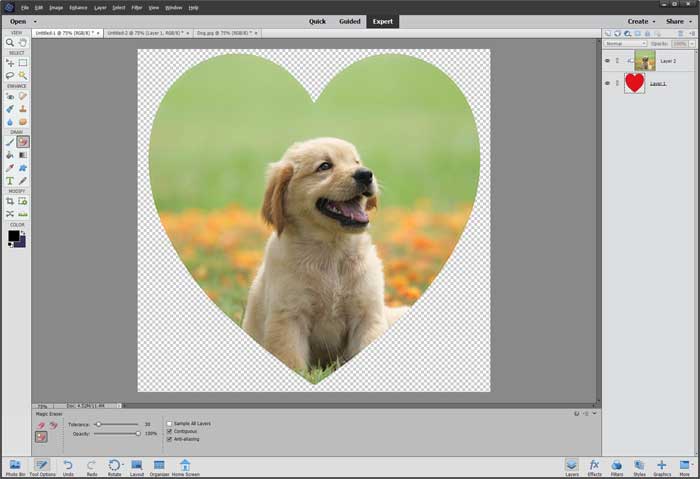
Once you have things the way you like it then you can save your image however you like it. If you want the background around the heart to remain transparent then you should save the image as a PNG file.
The next way to crop a picture to a shape involves erasing the area of the heart itself rather than the background. So for our heart image we want to erase the red area using the Magic Eraser tool.

Now we can paste the image over the heart again OR we can go to File and then Place and browse for the dog image if that way works better for you. Next we will stretch out the dog picture so it covers the entire heart image. Don’t worry if it goes off the boundary of the heart image because it won’t affect anything.
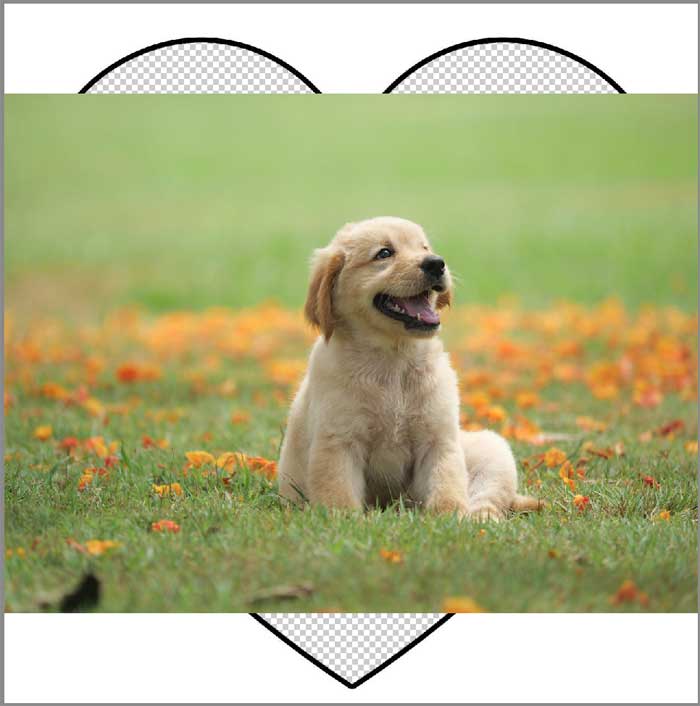
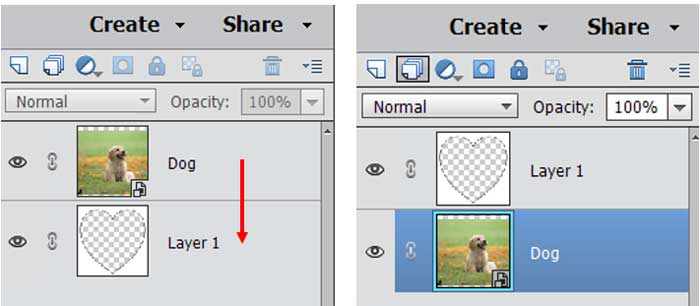
Once you have the picture in place you will need to change the order of the layers to have the heart shape layer at the top of the list. You can do this by clicking and dragging the layers with your mouse.
Now you can see that the dog picture is inside of the heart picture but this time the black border around the heat stayed in place thanks to the way we erased the inside of the heart rather than the outside white area.
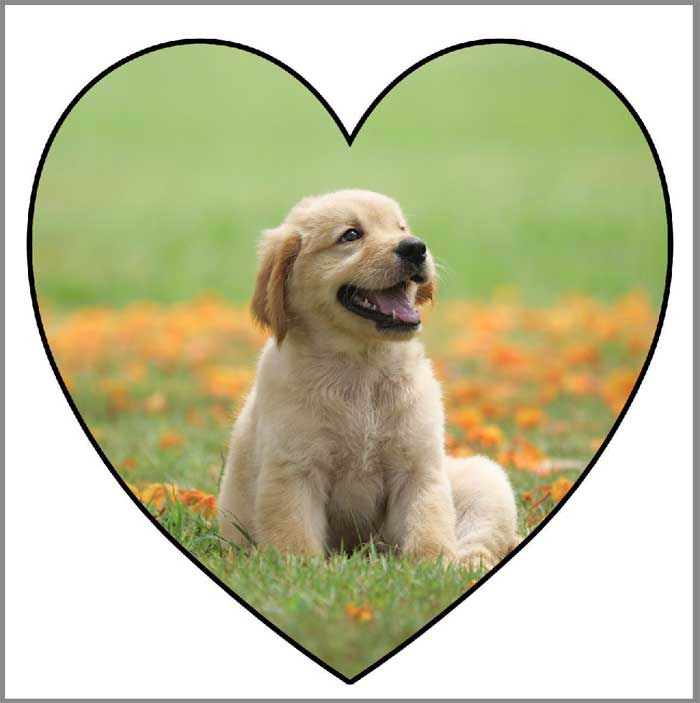
Now you can do things like fill in the white space with a color if you like as seen below.

If you want to make the background transparent you will need to first go to the Layers menu and choose Merge Visible or Flatten Image so there is only one layer, otherwise you will end up with the dog picture being shown on the outside of the heart as seen below.
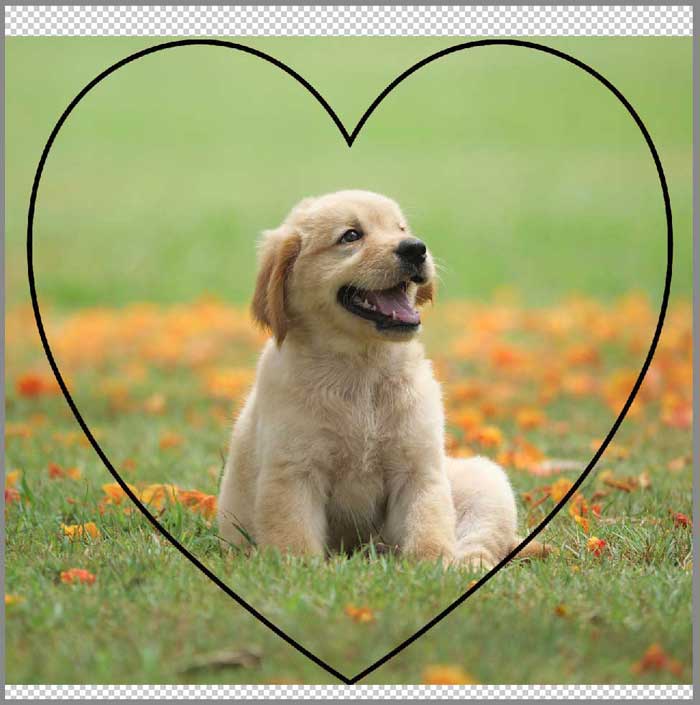
When you merge or flatten the image you will notice that you only have one layer in your Layers panel but you can now erase the background and leave only the heart.
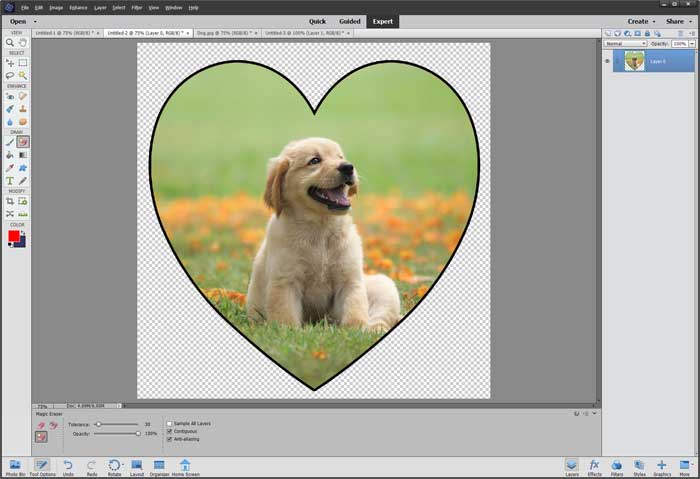
As you can see, its not too hard to crop a picture to a shape and there is more than one way to do so and the method you choose is up to you depending on what you want to accomplish.


