Use VirtualBox snapshots to prevent potential disasters
If you have been into virtualization for some time then you know how important snapshots can be when it comes to getting you out of a bind or for testing purposes. But if you are new to the concept of virtual machines and what snapshots can do then it is definitely one of those topics you need to know about.
Most of us can’t afford the full blown virtualization hypervisors such as VMware and Hyper-V even though they do offer scaled down versions that you can use at home. But one of the more popular platforms that many people use for the virtual machines is called VirtualBox and it’s made by Oracle. And the best part is that its free to use for anyone and updated on a regular basis.
The concept of a snapshot is to take a “picture” of a virtual machine at an exact point in time and then save that picture as a backup file that can then be restored so you can revert that VM to exactly the state it was in when you took the snapshot. So if you are going to do something like install some test software that might cause a problem with your operating system and maybe even make it unusable then you can take a snapshot first in case things go wrong and you need to go back to how things were before you installed the software.

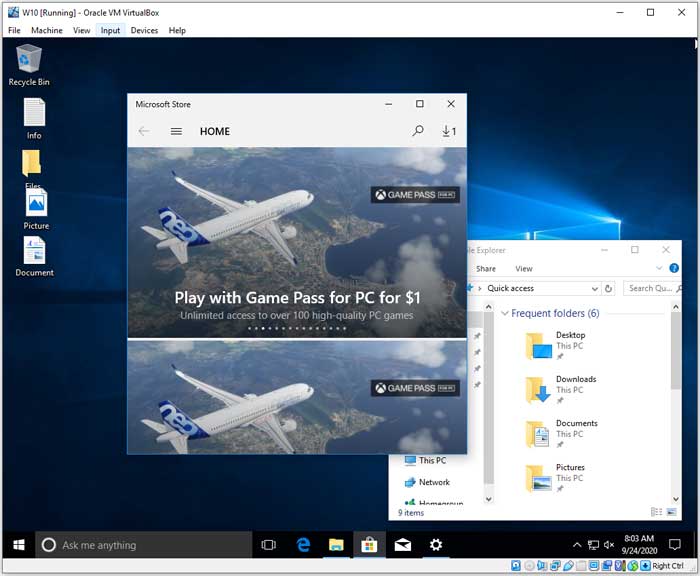
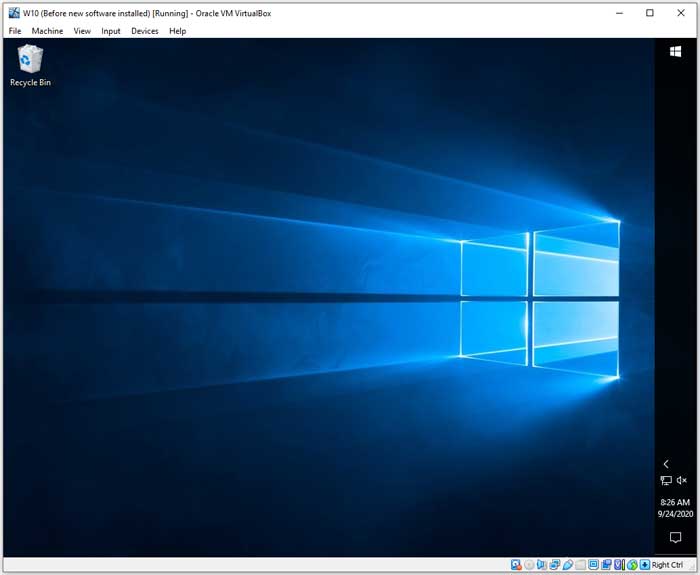
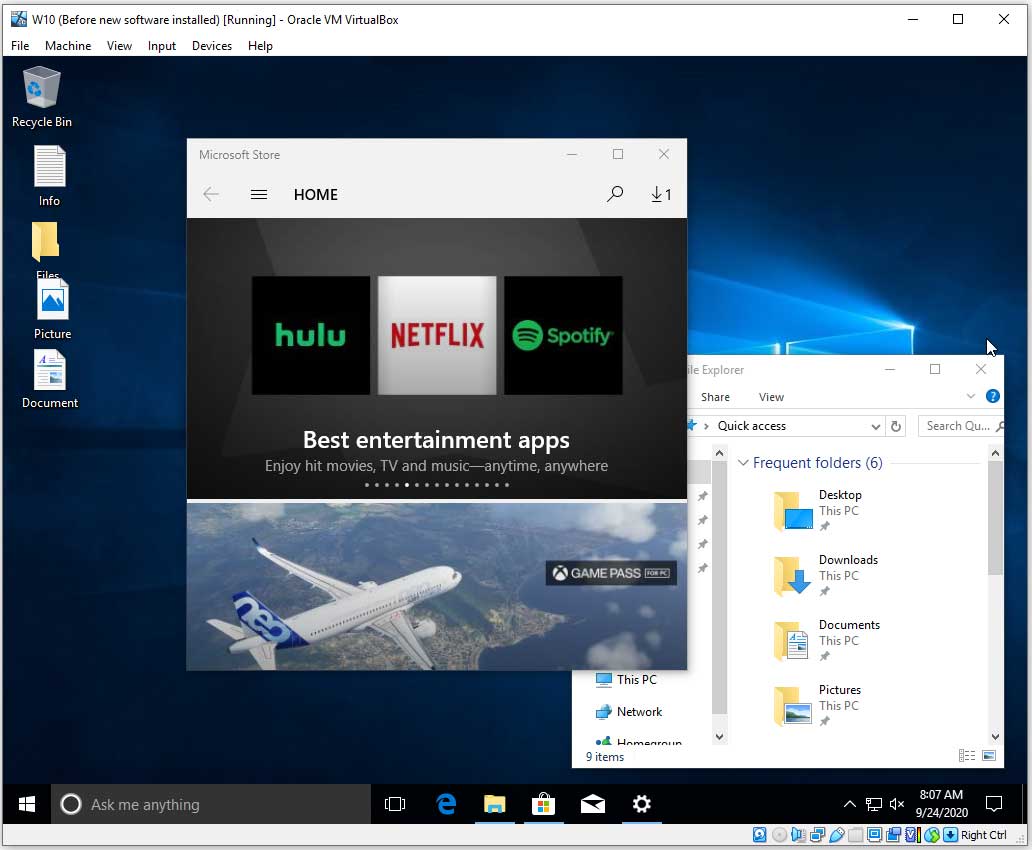
The image below shows the state of a Windows VM with files and a folder on the desktop, programs pinned to the taskbar and the Microsoft Store and File Explorer open. Notice that the time says 8:03 as well.
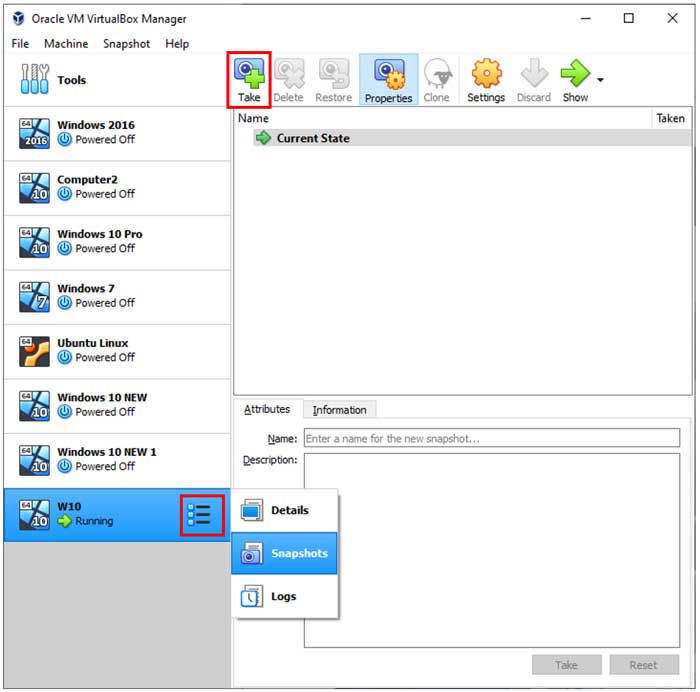
To take my snapshot I will go to the VirtualBox Manager, find the VM I want to take a snapshot of and then click on the 3 bars next to it and choose Snapshots. From there I will click on the Take button to start the snapshot process.
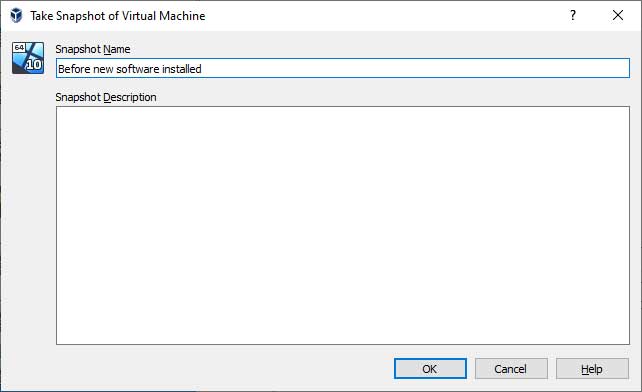
I will then be prompted to give my snapshot a name and I can also add a description for this snapshot if I desire. I will name it Before new software installed and then click the OK button.
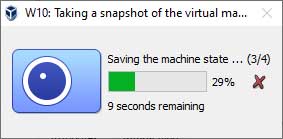
Now VirtualBox will take a snapshot of the VM and how long this takes will depend on the size of your VM but shouldn’t take too long.
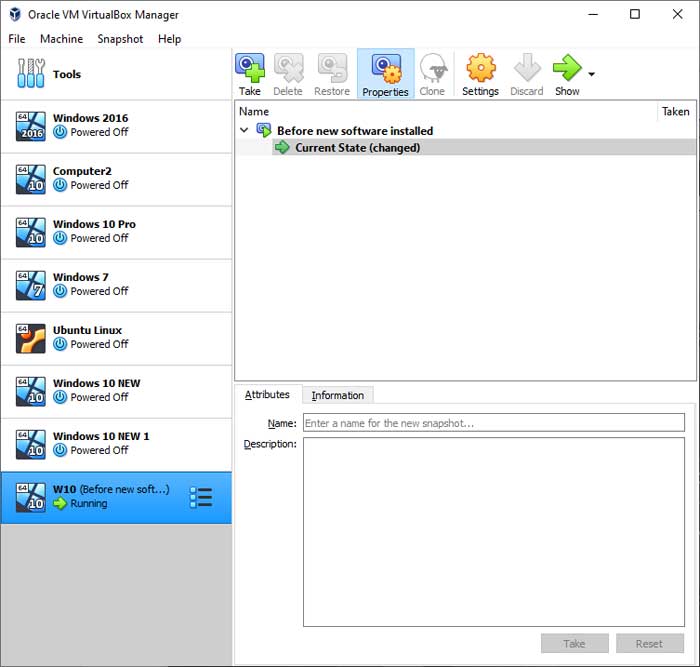
Now when I go back to the Snapshot section in the VirtualBox Manager I will see my new snapshot listed with the name I gave it.
Now I will go back to my virtual machine and make some changes such as deleting everything on the desktop, removing the programs that were pinned to the taskbar and finally move the taskbar to the right side of the desktop. Notice how the time now says 8:26.
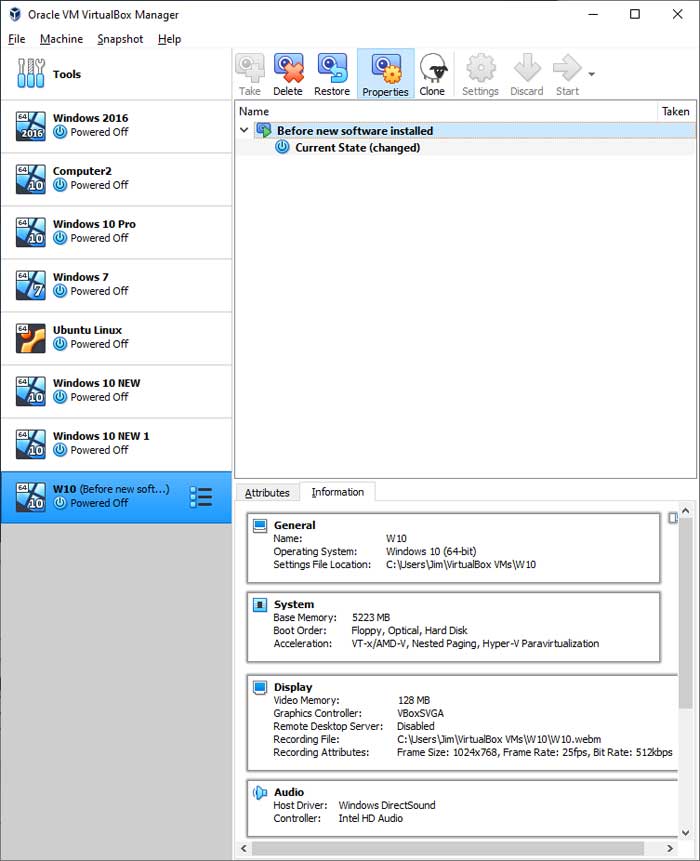
Next I will go back the VirtualBox Manager to restore my snapshot and here you can also see details about the VM configuration for a particular snapshot by clicking on the Information tab. When I am ready to restore my snapshot then all I need to do is highlight the snapshot I want to restore (I only have one) and then click on the Restore button.
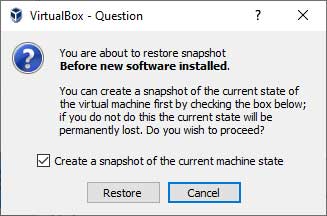
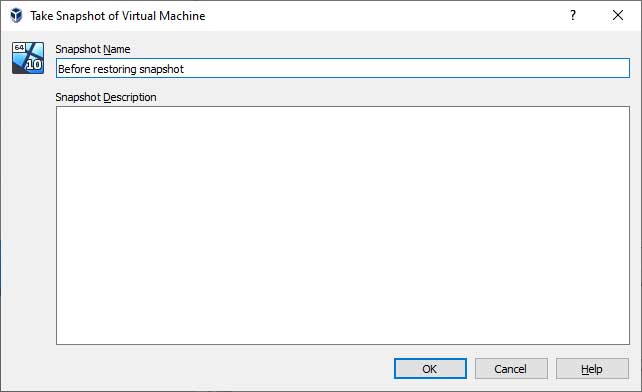
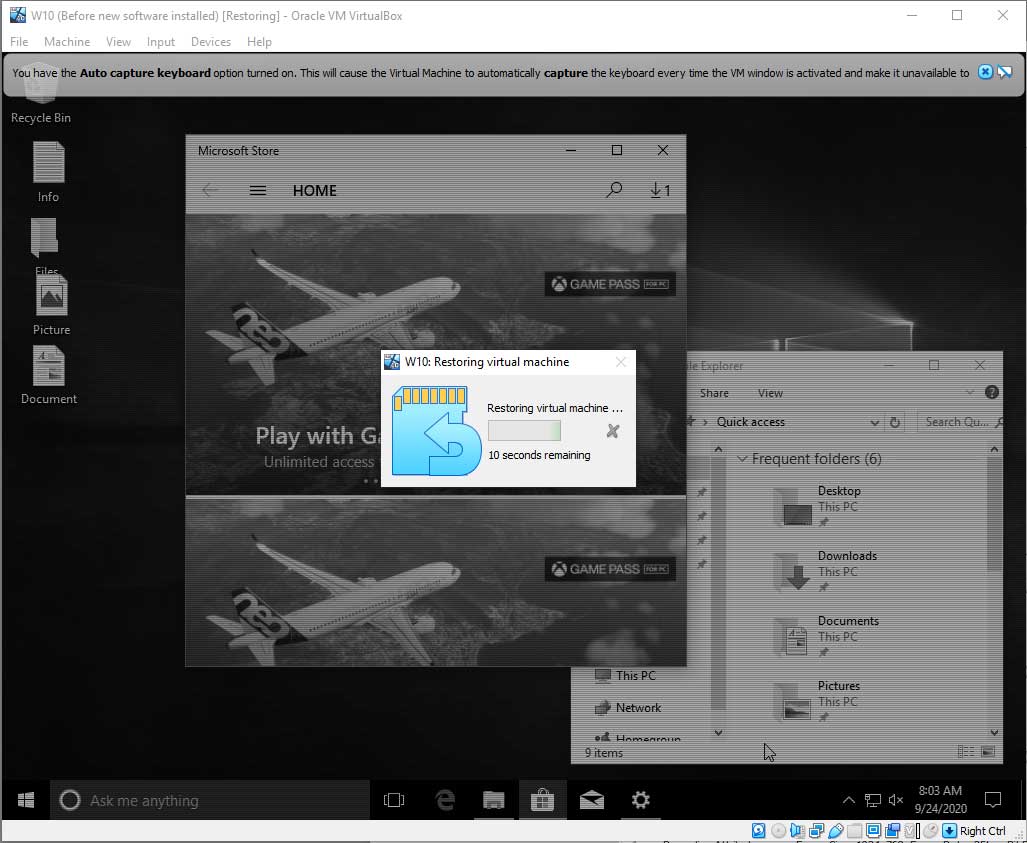
I will then get a notification that my snapshot will be restored and also asked if I would like to take a snapshot of the current state before the restoration process. This can be used in case you didn’t want to revert back to your previous VM configuration after all and it allows you to go back to the state of the VM before you restored the snapshot. I will leave the Create a snapshot of the current machine state checked for my example and then click the Restore button. I will then give it a name of Before restoring snapshot and then click on OK.
During the snapshot restore process you will see its progress plus you will also see how your VM will look during the process in the background. Notice how all my icons, taskbar items and programs are exactly the way they were when I took the snapshot? You will also notice how the time reverted back to 8:03. You might have to make a time adjustment on the VM if it doesn’t correct itself.
Now my virtual machine is back to the way it was before I took my snapshot and I can continue on like I never even installed the new software that caused me all of the problems.
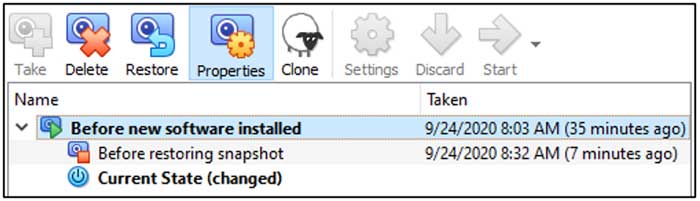
If I go back to the VirtualBox Manager I can also see my additional snapshot (Before restoring snapshot) listed with the time it was created.
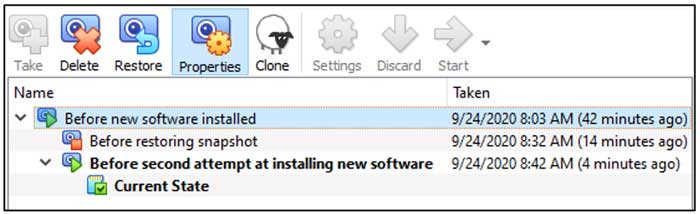
If I want to take an additional snapshot at another point in time I can do so, and it will just add it to the list of snapshots, and I can then go back to this new one if needed.
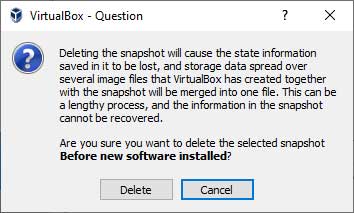
If you realize that you don’t need your snapshots anymore or need the space back on your hard drive that they take then you can delete one or more of your snapshots. When doing so, you will be warned that you will lose any saved state information from that snapshot and you won’t be able to get it back. If you are ok with this then you can click on the Delete button to delete your snapshot.
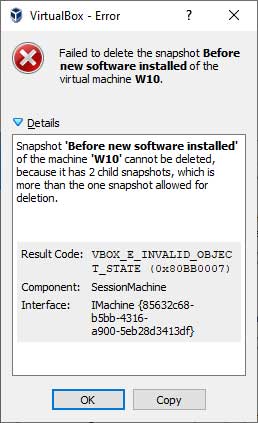
If you try and delete the parent (root) snapshot then you will get an error message telling you that you have child snapshots and you will need to delete these child snapshots first which is easy to do.
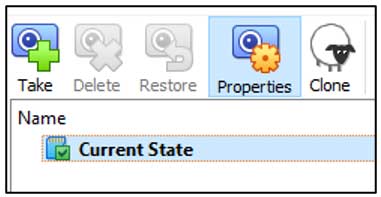
Once I delete the child snapshots and the root snapshot then my snapshot area will just show my VM in its current state with no snapshots.
You might have notice the Clone button during this process and this can be used to make a clone (copy) of a virtual machine based on a snapshot which can come in handy if you would like to do a different type of testing on a particular state of your VM for example. This way you can leave the original snapshot/version alone and test on your cloned version.
For additional training resources, check out our online IT training courses.
Check out our extensive IT book series.