
Last Updated on April 28, 2026
Learn about Windows Safe Mode and recovery options
As Microsoft makes advancements with each version of Windows they tend to make changes in the way things are done and sometimes it seems like they are making some of these changes just to make things different to justify having and upgrade! One thing they have changed for the better are the options to recover your computer or fix it when it won’t boot up. Back in the old days when your computer wouldn’t start you needed to boot to the Windows disk or Safe Mode (if you could get there) and try and diagnose what the problem was.
Safe Mode is still a viable option when it comes to diagnosing problems with Windows but you don’t get there the same was as you did before. In earlier versions of Windows you would reboot and repeatedly tap the F8 key until you got the Safe Mode menu where you could select which Safe Mode option you wanted to boot into. To get into Safe Mode in Windows 10 or Windows 11, the msconfig method is still the fastest if your computer is currently working. Simply type system configuration into the Start menu search and press Enter.

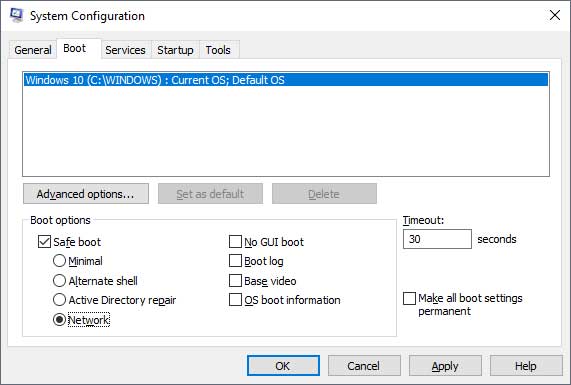
Once you are there go to the Boot tab find the section called Boot options and check the box for Safe boot. Then decide if you will need an internet or network connection and if so choose the radio button for Network otherwise you can just pick Minimal. Then once you click on Ok you will be asked to reboot your computer (which you can wait on by saying no) and the next time you reboot you will be in Safe Mode. Keep in mind that you will need to come back here and uncheck the Safe boot box otherwise it will keep booting into Safe Mode.
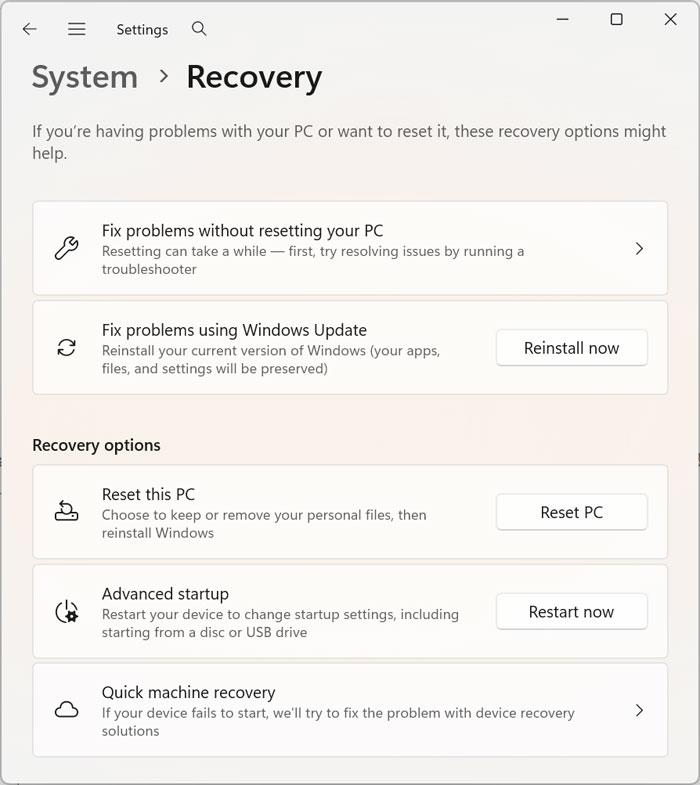
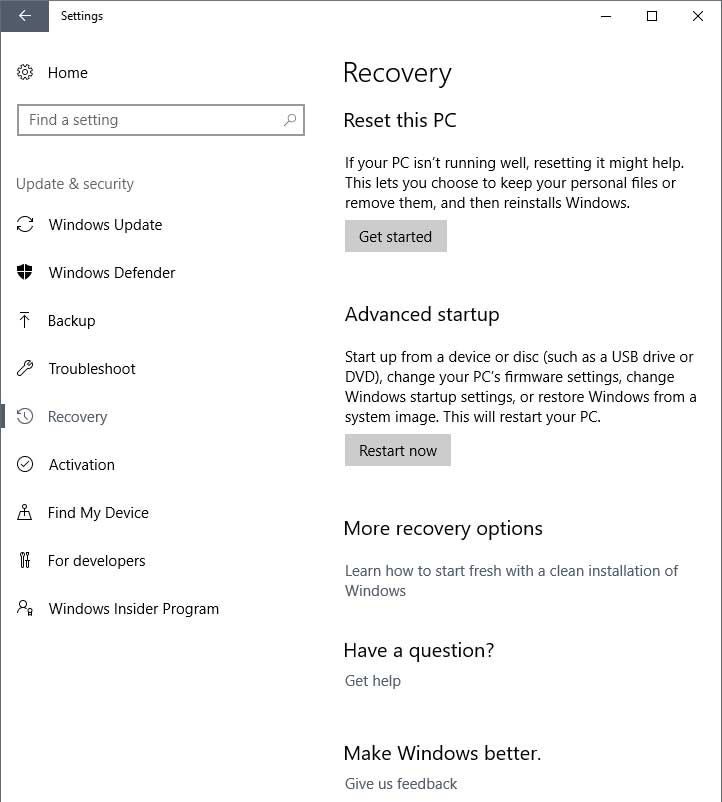
In Windows 11, the recovery menu has moved. To find it, go to Settings > System > Recovery. If you are still on Windows 10, it remains under Settings > Update & Security > Recovery. Both versions will show an “Advanced startup” section where you can click Restart now.
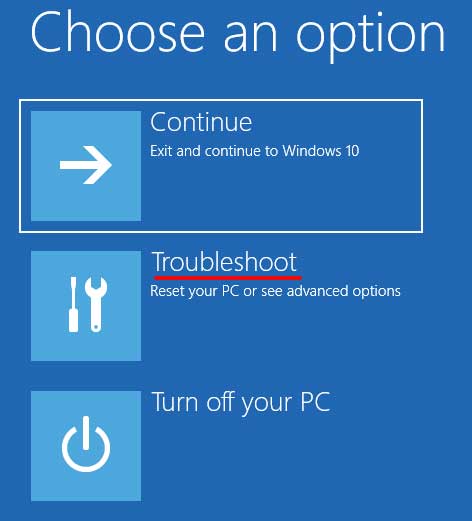
Under Advanced startup click the button that says Restart now and your computer will reboot and you will be taken to the Windows 10 Recovery options where you will click on Troubleshoot and then Advanced options.
Advanced options gives you several options to choose from. The first is System Restore which you can use to restore your computer’s configuration back to a previous date assuming you have System Restore enabled. This won’t affect any of your files so keep that in mind.
If you have a backup image of your system then you can use System Image Recovery to restore your backup to the date it was created.
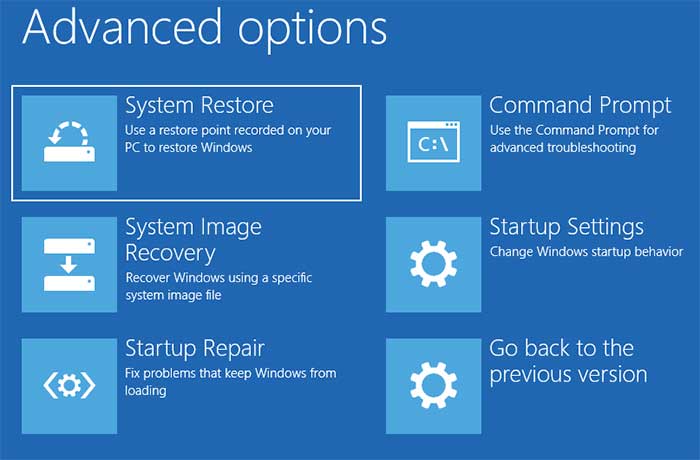
Startup Repair will run a diagnostics on your computer and see if it can fix whatever problem is preventing it from booting up.
Choosing Command Prompt will do exactly that, open a command prompt allowing you to type in specific commands to diagnose or fix the problem.
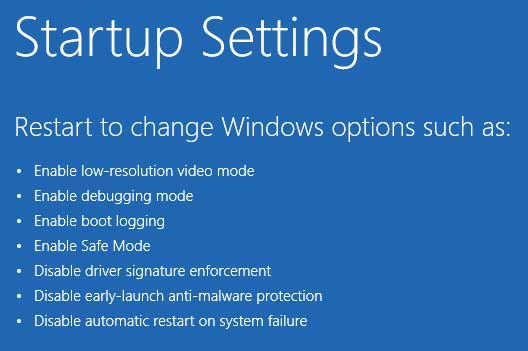
Startup Settings will give you additional startup options to choose from such as Safe Mode and will require your computer to reboot to get into those options where you can actually choose one of them
The Shift + Restart Shortcut
If you don’t want to dig through menus, there is a much faster way to get to the recovery screen:
- Click the Start button and then the Power icon.
- Hold down the Shift key on your keyboard.
- While holding Shift, click Restart.
Your computer will bypass the normal restart and go directly to the blue Choose an option screen, where you can find the Troubleshooting and Safe Mode settings.
Uninstall Updates — This has replaced the old “Go back” option for many users. It allows you to remove a recent Windows update that might be causing instability. Safe Mode remains the gold standard for troubleshooting driver issues; if your computer works in Safe Mode but crashes in normal mode, you likely have a driver or software conflict. By utilizing these built-in tools, you can save yourself a trip to a repair shop and get your PC back in working order on your own.
For additional training resources, check out our online IT training courses.
Check out our extensive IT book series.


