Last Updated on July 19, 2026
One of the easiest and most effective upgrades you can do to your PC is to install more RAM memory (random access memory). RAM is the memory your computer uses to store things like open files and open programs while you are working on them. It’s a very fast type of memory and if you do things on your computer like edit photos and movies or play graphic intense video games then you will need a fair amount of RAM in order to avoid performance problems.
Nowadays adding more RAM is a relatively cheap upgrade. There are a few things to check for before performing this upgrade though. You must verify your exact hardware specifications to prevent buying incompatible sticks. Plugging the wrong module into your motherboard will physically damage the internal pins.
Pre-Installation Hardware Checks
1. Verify the Memory Generation
Make sure you have the right type of memory that will work with your particular socket type. For example, older DDR3 memory is not going to work with your brand new DDR5 motherboard. You must check your motherboard manual or use a system scanning tool to find the exact hardware generation required.
2. Match the Clock Speeds
Be sure to get memory that is the right speed for your system and matches the speed of your existing RAM. If you mix a 3200MHz stick with a 3600MHz stick, your motherboard will downclock everything to the slower speed. Buying a matching kit guarantees optimal dual-channel performance across the board.
3. Check Capacity Limits
Motherboards have a set amount of memory they can support. Do not exceed this limit or you may run into problems. Most modern motherboards can handle 64GB or 128GB of memory so you probably will not hit this ceiling during a standard home upgrade.
Physical Installation Steps
1. Disconnect the Power
Always install RAM with the power to the computer turned off and also make sure it is unplugged as well. Ground yourself by touching the bare metal case first to discharge any static electricity. Static shocks will instantly fry sensitive microchips.
2. Locate the Memory Slots
Take off the side cover of your computer case and locate the RAM slots. They will look similar to the images below and usually sit right next to the main processor socket. You will see long vertical channels with small plastic retention clips at the ends.
Empty
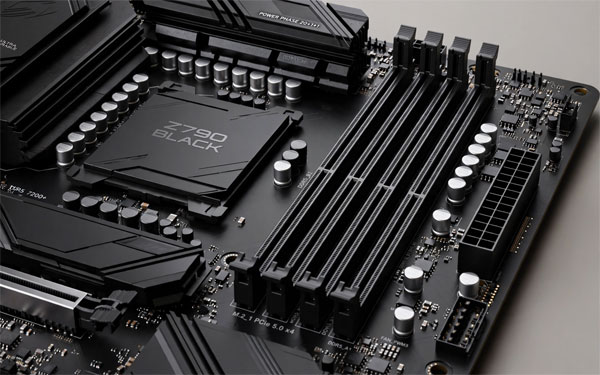
With existing RAM
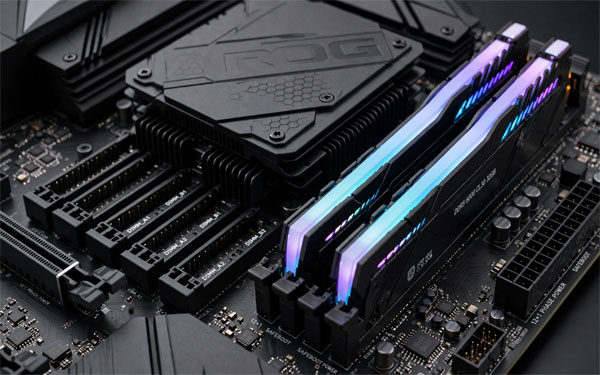
3. Identify the Correct Channels
You need to make sure you put the RAM in the right slot. They are sequentially numbered across the board. Refer to your motherboard manual to find out which is slot 0 or slot 1 to find the beginning slot. They are usually labeled on the motherboard itself right next to the RAM slots.
4. Align the Key Notch
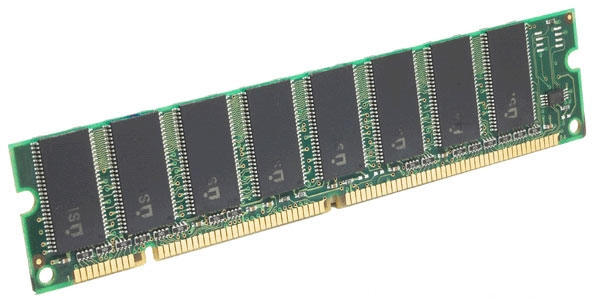
To install the RAM first make sure it is facing the right direction. It will be keyed so it only goes in one way. Look at the small gap on the bottom edge of the stick and line it up perfectly with the plastic ridge inside the motherboard slot.
5. Seat the Modules
Gently place the RAM into the slot and push down firmly on both ends. You will feel it click into place when you install it correctly. The plastic clips will automatically snap inward to hold the RAM in place on each side of the chip.
6. Test the System Boot
After installing the RAM, plug the power cable back in and turn on the system. Watch the screen for the memory test to make sure it lists the correct amount of RAM. If it is not the correct RAM it will let you know by displaying an error message or giving you a beep code.
For additional training resources, check out our online IT training courses.
Check out our extensive IT book series.