
Last Updated on April 3, 2026
VirtualBox is a free virtualization platform that you can use on Windows and Linux desktops to run virtual machines (VMs). When running these virtual machines, they will use the resources on the host computer that has VirtualBox installed. Some of the resources the VMs will use include the memory (RAM), processor (CPU) and hard drive to store the virtual disk files that make up the hard drives on the VMs themselves.
For Windows users, VirtualBox will create and store these virtual machines on your C drive by default in the C:\Users\username\VirtualBox VMs folder. These virtual machine files can take up a lot of space and you may find yourself running low on your C drive after a while. Or you may not want to use the default folder and use your own custom folder on your C drive. If you have a secondary drive that has more room, you can easily move a VirtualBox virtual machine to a new folder or another hard drive.
There are several ways to move a virtual machine that may work just fine which we will briefly discuss and then show you the easiest and most effective way to accomplish this.

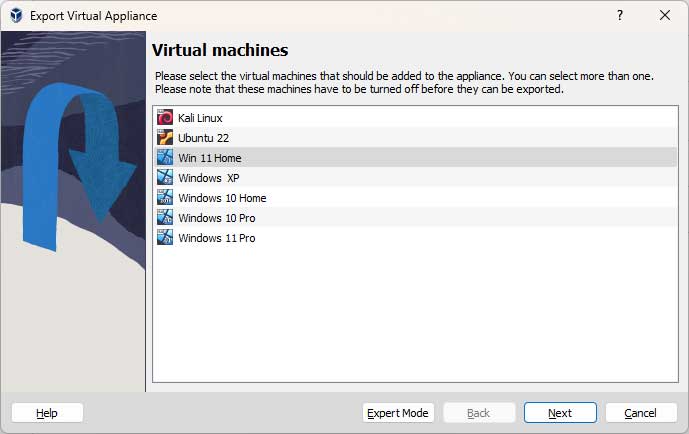
One way to do this is to export your virtual machine as an OVA file by selecting it and then going to the File menu and choosing Export Appliance. Then you would choose the VM you want to export and choose the destination for the OVA file and then change any configuration settings as needed.
After you have your OVA file, you can go to the File menu and choose Import Appliance and then import it to your new location.
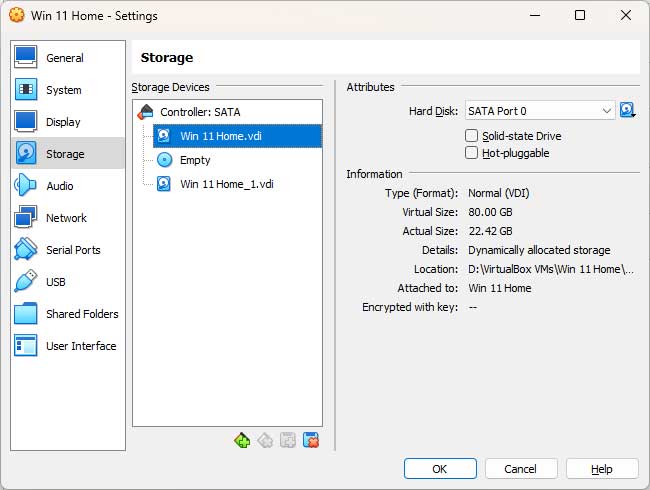
You might also try to go to the settings of the virtual machine in the Storage section, then detach its virtual disk (VDI) file and then move the VDI file to its new location and then reattach it to the VM. Many times, this will give you a UUID error so it may not be the most effective route to take.
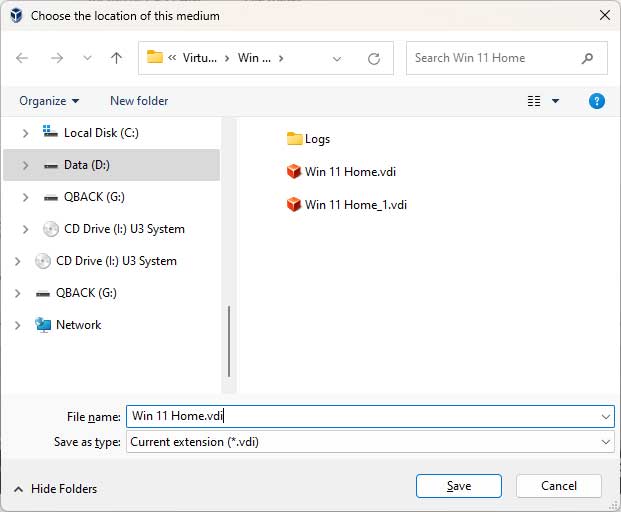
Another way to move a VM is to go to the File menu, then Tools and finally Virtual Media Manager. Then you can select the disk file that goes with the VM you are wanting to move and click the Move button and choose a new location for the disk file.

You most likely will want to make a folder with the name of the VM to put the VM files in so they do not get mixed in with any other files in your new location.
The only problem with using this method is that you will have other files for the VM still left in the original location. If you manually move them to the new location, they will be recreated at the original location ever time you start the VM. Even if you delete the original VM folder altogether, it will be recreated when you start the virtual machine.
The most effective way to move a VirtualBox virtual machine to a new folder or another hard drive is to right click on the VM name itself in the VirtualBox manager and choose Move.
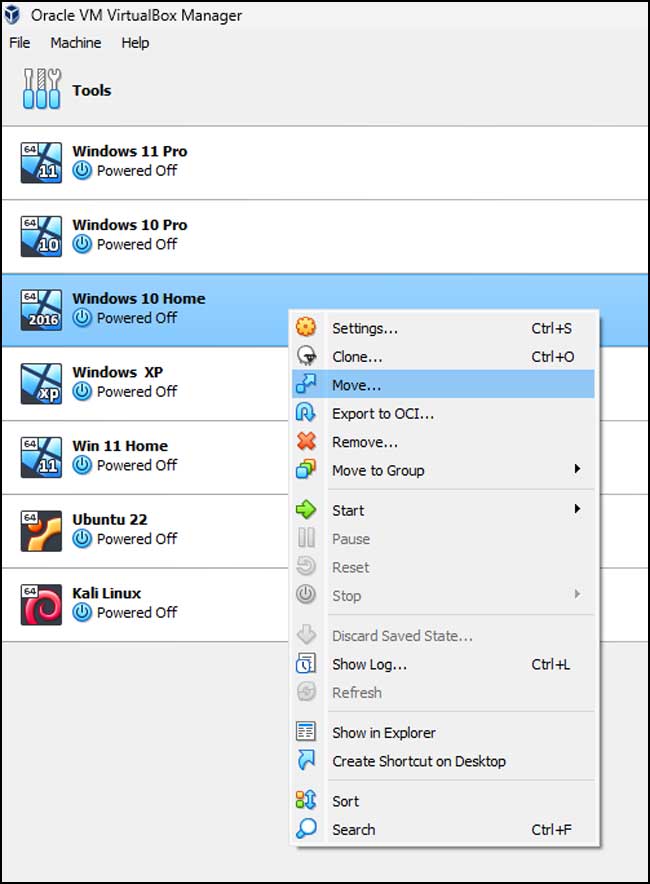
Then you can select the new destination folder from the next screen. VirtualBox will create a folder with the name of the VM, so you do not need to do so yourself using this method.
Then the virtual machine will be moved and when the process is complete, you can check the settings of the VM by going to the Storage tab and clicking on the name of the VDI file to make sure that it is now stored in your new location. After that, you should be able to power up your virtual machine and run it from your new location.
For additional training resources, check out our online IT training courses.
Check out our extensive IT book series.


