Google Photos is one of the many free Google apps you can use to do things such as write documents, host meetings, share files and so on. When you use Google Photos to store and share your pictures, they are kept online and accessed via the Photos website. You can do things such as create photo albums to sort your pictures, share them with others and even order photo prints.
Watch video: Download All of Your Pictures and Albums from Google Photos to Your Computer.
The image below shows a typical Google Photos account with several albums with individual photos stored within each one. You can upload pictures from your computer, smartphone or tables to your Photos account and then create albums as needed. Then you can move your pictures into these albums after they have been created.
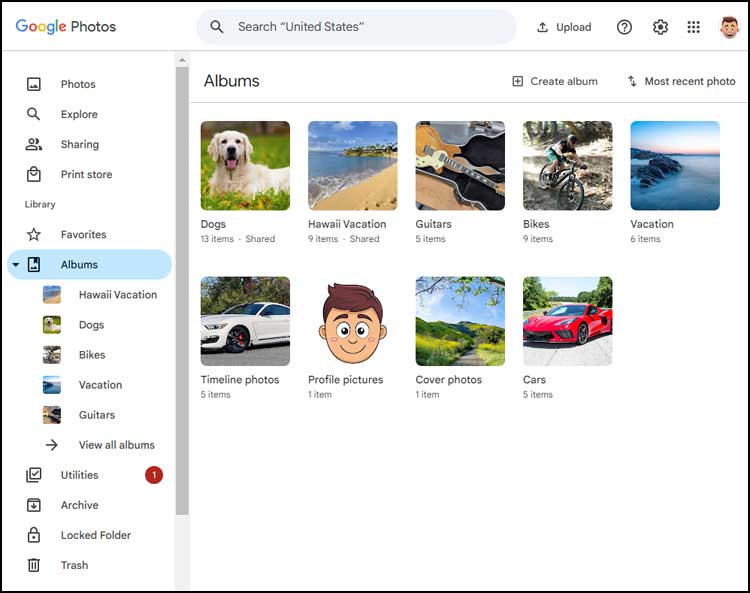
If you have an Android smartphone then your pictures are most likely getting backed up to your Google Photos account. Google created Android so that is why they do this for you whether you like it or not. Of course, you can always disable this setting if you do not want your pictures to automatically be synced to your Google account.
If you want to save the pictures in your Google Photos account to your computer, you can easily download them one at a time as needed. But if you want to download all your pictures and even albums from Google Photos to your computer, then there is an easy way to do so.
In this article, we will be showing you how to use Google Takeout to download all of your pictures and albums to your computer.
To begin, you will need to go to the Google Takeout website and log on with the same Google account you use for Photos.
When you are there, you will need to create a new export and you will be shown all of the available Google apps and services that you can export data from. Before you begin, you should click on the Deselect all link to uncheck all of the boxes so you do not need to uncheck them one at a time.
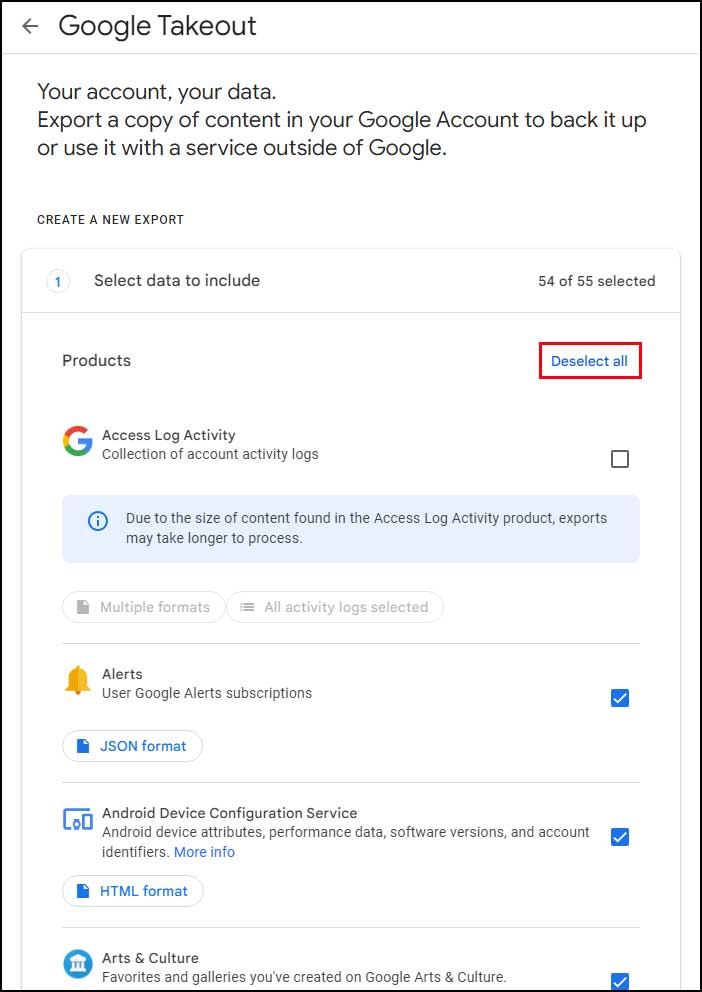
Then you can scroll down the list and find the Google Photos option and check the box next to it.

If you click on All photo albums included, you will be shown all of the albums from your account and then you can select which ones you want to have exported. All of the albums should be selected by default.
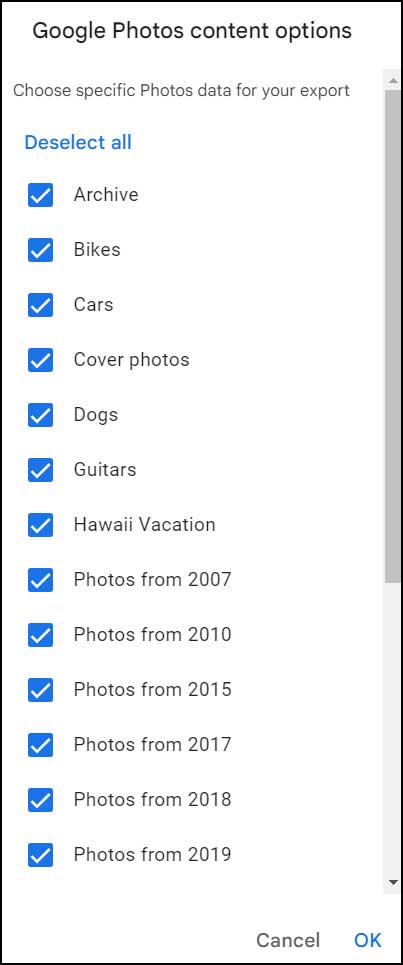
Once you have made your selections, you can scroll down to the bottom of the page and click on the button that says Next step.
Now you will have some export options to choose from. For the destination, you can have it send you a download link via email or have it placed within your Google Drive, DropBox, OneDrive or Box online storage account assuming you have the appropriate account for the one you wish to use.
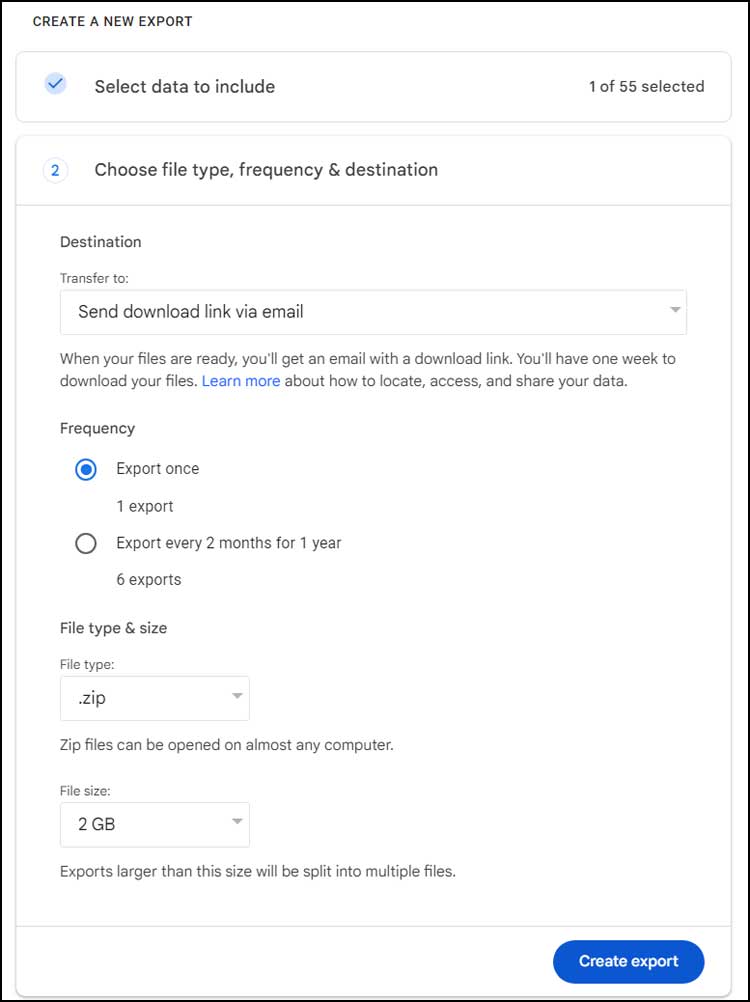
You can perform the export one time or have it automatically exported every 2 months for the next year. You will most likely want to use the export once option.
As for file type, the default is to create a zip file with your photos, but you can also choose a .tgz file. The file size option determines how large the file will get before Google splits it up into separate files. You can choose from 1GB, 2GB, 4GB and 10GB.
We will stick with all of the default settings and click on the Create export button to begin the process.
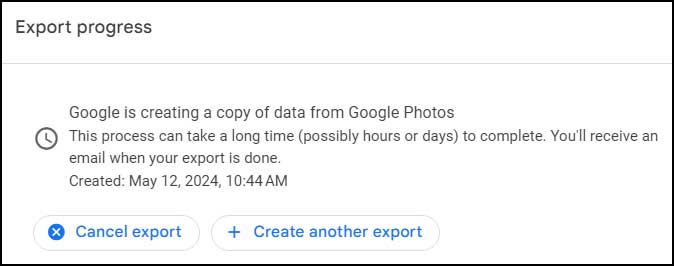
You will then get a message telling you that your photo export is in process and that it can take hours or even days to complete and that you will also receive an email when its finished. This process usually doesn’t take too long, and you might get your completion email within an hour or less.
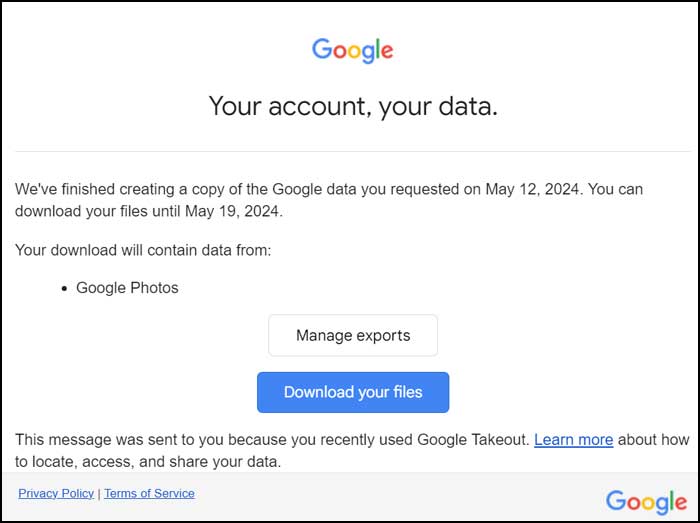
The image below shows what the email you will receive will look like once the process is complete. You can then click on the Manage exports button to be taken back to the Google Takeout website where you can download your files, or you can simply click the Download your files button right from the email. This will then take you to the exports page and automatically start the download of your files.
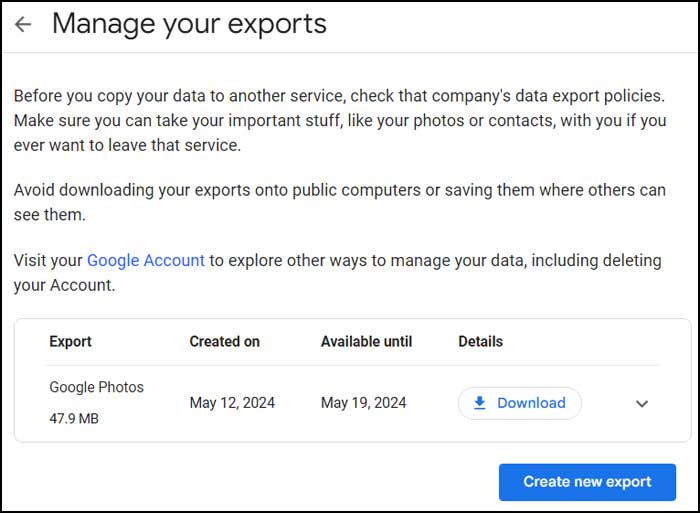
You will also be able to see the size of your exported file and download it again if needed.
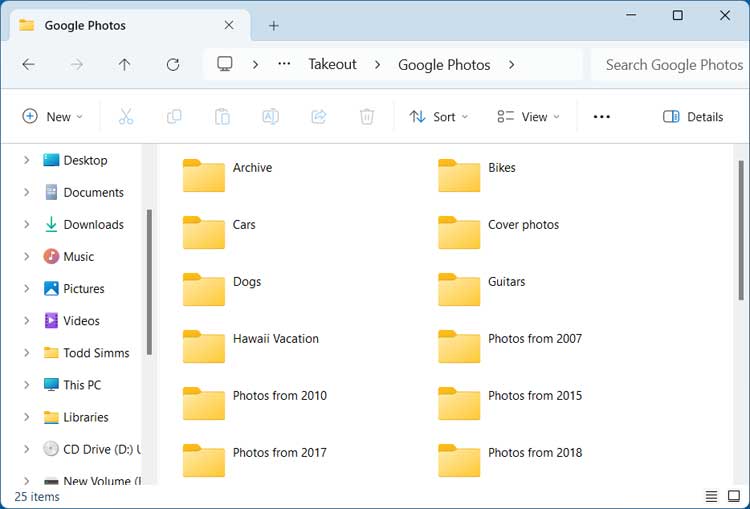
Once you extract the files from the zip file, you will then be able to open the Takeout folder and see all your albums in their individual folders. From here, you can do things such as print or email them or even back them up to a removable hard drive or USB flash drive.
For additional training resources, check out our online training courses.

