If you are looking for an easy and cheap way to get into the world of virtual machines, then using one of the available desktop virtualization platforms is the way to go. There are many choices when it comes to the available software that you can use to create virtual machines on your desktop computer including VirtualBox, Parallels (Mac), VMware Player, VMware Workstation and Microsoft Hyper-V.
When you start using these virtualization programs, you might find that you have created some virtual machines and spent a lot of time configuring them but then realize you might like some other software better. If this is the case, there is a good chance you can export them from one platform and import them into another. In this article, we will be showing you how to convert a Hyper-V VHD or VHDX file to a VMware VMDK file.
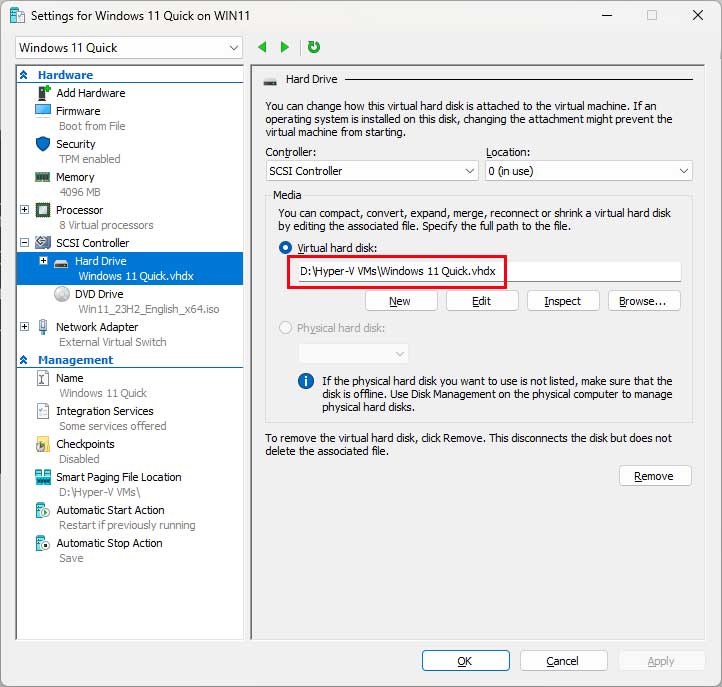
To begin the process, you will need to know the location of your Hyper-V disk file. You can find the location by going to the settings of the virtual machine and finding the path for the virtual hard disk.
The tool we are going to use to convert the Hyper-V VHDX disk file to a VMDK file is called QEMU Disk Imager and it can be downloaded for free from their website here.
Once you download QEMU and extract the zip file, you will need to open a command prompt and navigate to the location of the extracted files.
If you want to view information about your virtual disk file, you can run the following command.
qemu-img.exe info “Path to disk file”
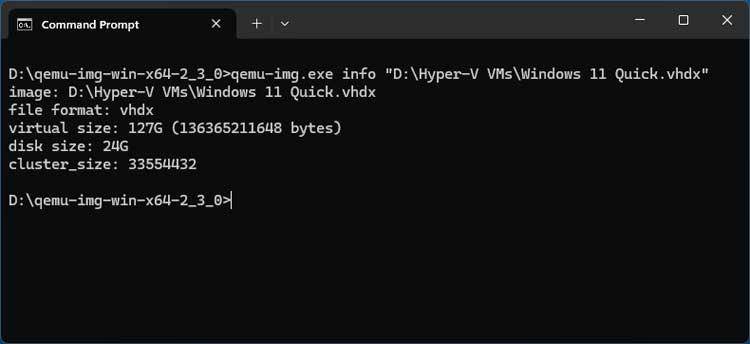
For our example, we will be checking the info for a file called Windows 11 Quick.vhdx. If your file path has spaces, you will need to use quotes at the beginning and end.
qemu-img.exe info “D:\Hyper-V VMs\Windows 11 Quick.vhdx”
As you can see, our disk file has a vhdx format, is 24 GB in size and has a virtual size of 127 GB.
To convert the VHDX file to a VMDK file we will need to use the following command.
qemu-img.exe convert -p “Path to VHDX file” -O vmdk “Path and name for the converted VMDK file.vmdk”
You will need to add the entire path and file name of the source file and then the destination path and file name of the converted disk file. Be sure to put .vmdk at the end of the file name.
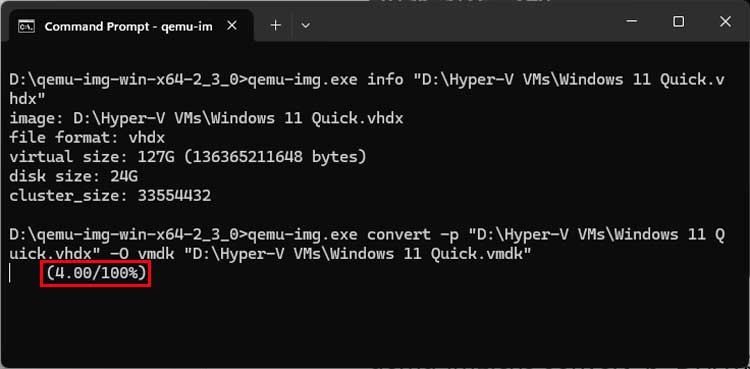
For our example, we will be keeping the location and file name the same but just adding .vmdk at the end of the command. The -p is used to show the progress and the -O is used to tell the program to output the file to the following name. Once again, be sure to use quotes if you have spaces in the path.
qemu-img.exe convert -p “D:\Hyper-V VMs\Windows 11 Quick.vhdx” -O vmdk “D:\Hyper-V VMs\Windows 11 Quick.vmdk”
When the command is running, you will see its progress at the bottom.
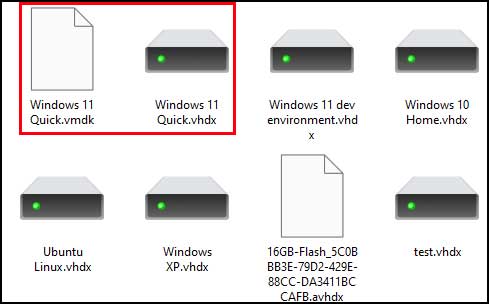
When the command is finished, you can then go to the directory where you had the tool create the VMDK file. As you can see in the image below, we have our original VHDX file and our new VMDK file.
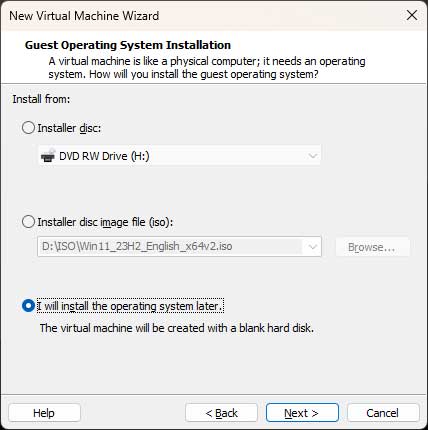
To create a new virtual machine in VMware Workstation using the exported Hyper-V disk file, you will need to start the new virtual machine creation process like you normally would. Since our exported disk file already has Windows on it, we will choose the option to install the operating system later.
Next you will need to choose the OS that matches your exported virtual disk which is Windows 11 x64 in our case.
You can then give the new virtual machine a name which will be used to create the folder where the virtual machine files will be stored. You can also create this folder first and put your VMDK file in there so it will be in the same place as your other virtual machine files.
If you are importing a Windows 11 virtual disk, then you will need to enter an encryption password for the Trusted Platform Module (TPM).
Next, you can choose your firmware type (BIOS or UEFI). For newer operating systems, you will most likely want to choose UEFI.
Then you can assign the new virtual machine one or more processors and change the RAM settings if you want to increase or decrease the suggested amount.
Next, you can choose your networking type which will most likely be NAT.
Then you can choose your SCSI controller (the default should be fine).
Then you can choose a disk type (the recommended should be fine).
On the next step, you will need to choose the option to use an existing virtual disk and you will need to select the newly created VMDK file.

If you get prompted to convert your disk to the newer format you can click on the Convert button to do so.
You can then start your new virtual machine and Windows may need to configure the operating system for its new hardware since you switched from Hyper-V to VMware.
For Windows 11 users, you may get a prompt saying your PIN is no longer available due to a change in the security settings on this device. This is because Windows has detected new (virtual) hardware. You can then sign in with your Microsoft account and reset your PIN to get back into Windows.

For additional training resources, check out our online IT training courses.
Check out our extensive IT book series.