Learn how to share your memories with the world!
Ever since the invention of the smartphone, everyone thinks they are a videographer and spends more time recording on their phone than they do talking on it. This is great (to an extent) because you can capture all of your memories and preserve them so you can watch them any time you want. Its also nice because you can share your memories with other people by having them watch your videos.
One of the easiest ways to share your videos are to post them on YouTube and then simply share the link to the video with anyone who wishes to see it. YouTube is free and fairly easy to use once you get the hang of it.
The first thing you need to do before being able to use YouTube is to sign up for a Google account. If you already have a Google account then you can just sign in with it on the YouTube website. If you use Gmail then you have a Google account
If you need to create a Google account simply to go www.google.com and click on the Sign In button. If you don’t already have an account, then you will be prompted to create one.
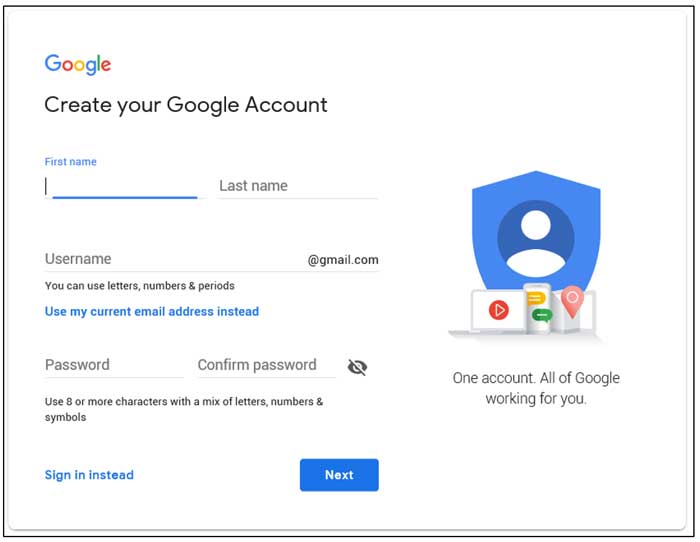
Simply enter your first and last name and choose a username, which will also be used for your Gmail email account ending in @gmail.com. If the username has already been taken, then you will be prompted to enter a new one. Notice that there is an option that says Use my current email address instead. This can be done if you do not want a Gmail email address, but still want to create a Google account with your current email address. (I would suggest creating a Gmail email address just to make things easier when using other Google Apps such as Google Docs.)
Then you will need to come up with a password that has 8 or more characters and uses letters, numbers, and symbols (such as ! or # for example) and click on Next.
After that, you will need to enter your phone number so Google can verify it is really you. It will send you a six digit number via text message that you will have to enter in the next step. Doing this will also tie your phone number to your Google account, which comes in handy for things like password recovery if you forget your password. If you don’t have a password you can have Google call you with the code instead of texting it.
Next, you enter a recovery email address (which can also be used for password recovery), as well as your birth date information. The birth date information is used because some Google services have age requirements. The gender information it asks for is optional and is not shown to other Google users. You can also edit your Google account later if you wish to change or add anything.
You may be asked to add your phone number to your account to use for Google services. This is optional, but if you click on the More options link you can specify exactly what you want or don’t want your phone number to be used for.
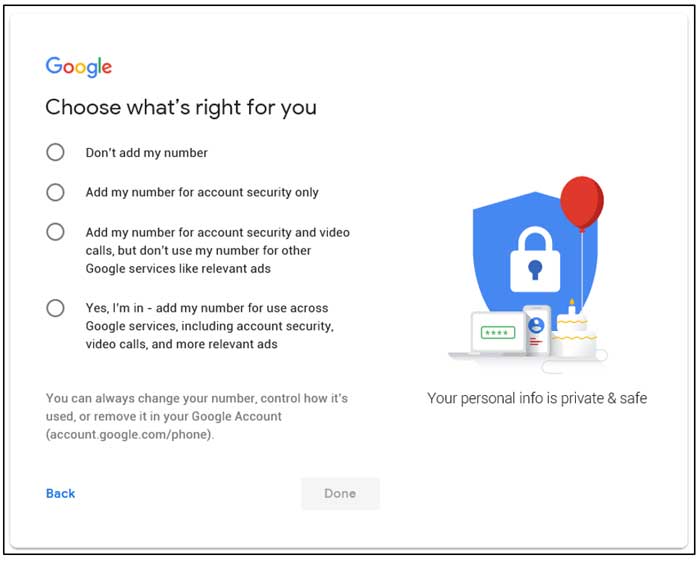
If you don’t want your number to be used at all, simply click on Skip, and you will be brought to the Privacy and Terms agreement, which you can read if you like. To continue, you will need to click on the I agree button. Finally, after clicking on I agree, your account will be created, and you will be logged in automatically. If you are on the Google home page, then you will see your first initial up in the right hand corner. You can go into your settings and edit your profile and add a picture if you like.
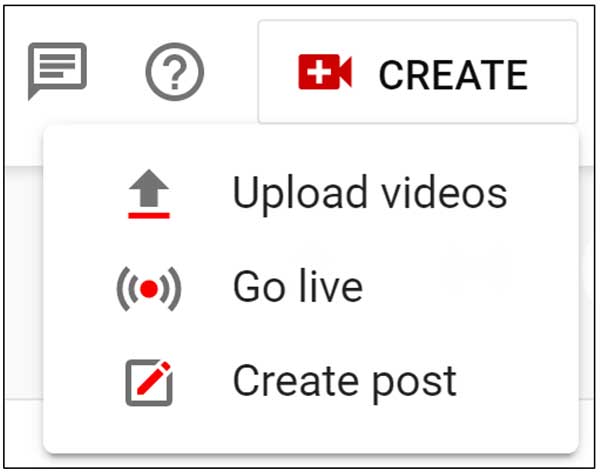
Once you have your Google account created, simply go to the YouTube website and log in. Next, you will want to click on the CREATE button and choose Upload videos.
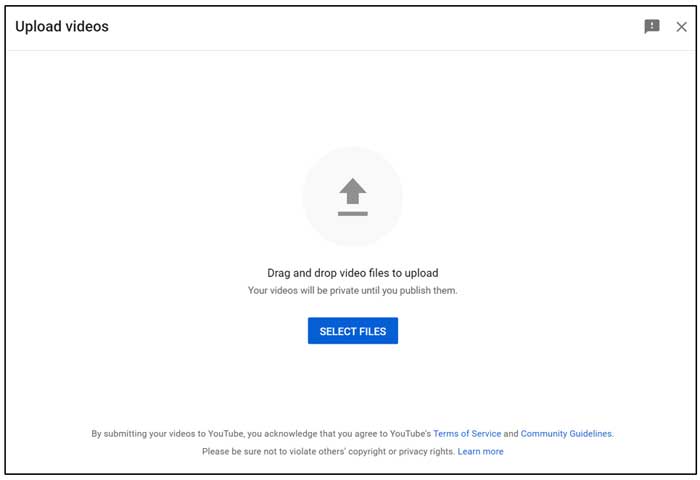
Next, you can either click the SELECT FILES button to browse to the location of your movie file or you can drag and drop it right into the window.
Next, you will need to add a title and description for your video so people will know what it is about.

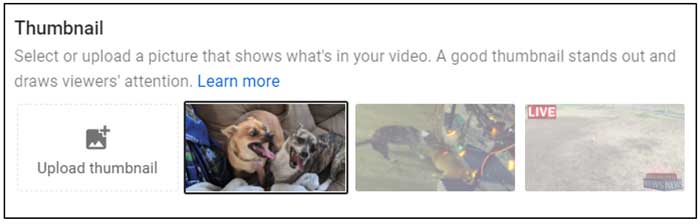
Once the video has uploaded it will give you a few thumbnail options which are what appear when your video comes up in search results on YouTube. Once you have a certain number of videos uploaded, they will give you the option to upload your own custom thumbnail.
There are some additional (and optional) selections you can make from this screen before clicking on the NEXT button.
- Playlist – You can create playlists to group similar videos together so that your viewers can watch them all one after the other.
- Audience – Here you can set whether or not your video is made for kids or has any adult content.
- Paid Promotion – If your video contains a product that you are getting paid to show, you can list that information here.
- Tags – Tags are used for search purposes so if words or phrases are missing from your title or description that you would like to have associated with your video, you can type them in here.
- Language and Captions Certification – If your video contains speech you can set your language options here. The closed captioning section only really applies if your video was on television and used closed captioning.
- Recording Date and Location – You can set the recording date here as well as where it was recorded for search purposes.
- License and Distribution – Here you should just use the default Standard YouTube License. If you want other people to be able to embed your video on their website you can leave the Allow embedding checkbox checked. If you have subscribers then you can leave the Publish to subscriptions feed and notify subscribers box checked so they will be notified that you have published a new video.
- Shorts Sampling – This will allow other YouTube users to sample your video to use in their own video. Uncheck the box if you don’t want to allow this.
- Category – This is used for search purposes so try and match the category to the content of your video the best you can.
- Comments and Rating – Here you can determine if you want to allow comments or not. You can also set it so you will need to approve any comment before it goes live and shows on your video’s page.
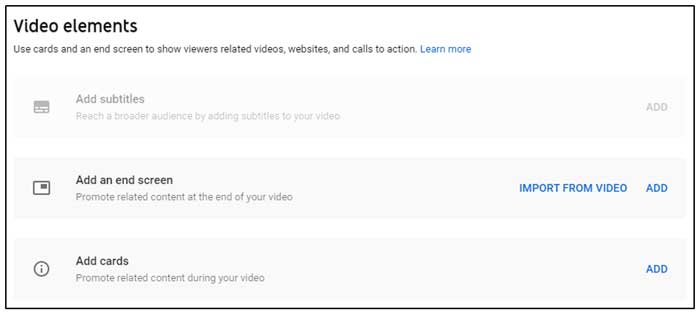
The Video elements section is optional and is used to promote some of your other videos by adding suggested videos at the end of your video from the Add an end screen section. The Add cards features is also used to add a small popup on your video that viewers can click on to be taken to another one of your videos or one of your playlists.
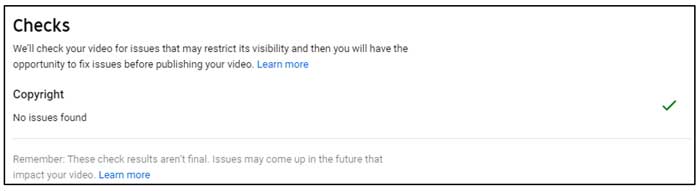
YouTube will then check your video for any unlicensed content such as music.
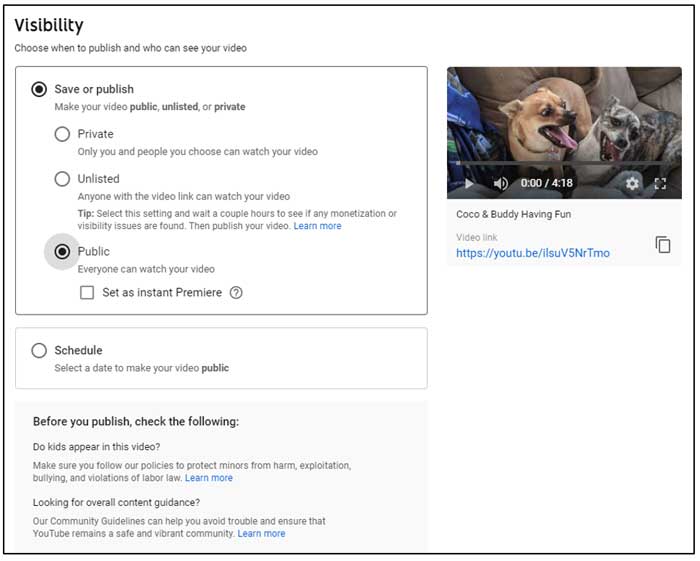
Finally, you can decide if you want your video to be private, unlisted or public. You can also schedule when your video will go live. Once everything looks good, click on the Publish button to have your video go live. Unless you scheduled it of course. If you made it private then you will need to email the video link to people to allow them to watch it.
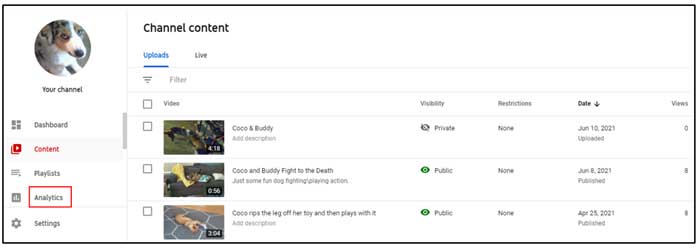
You can then go into your YouTube Studio and see the stats of your video such as the number of views and so on. Clicking on Analytics after checking the box next to your video will give you more detailed viewing information.