
Last Updated on April 28, 2026
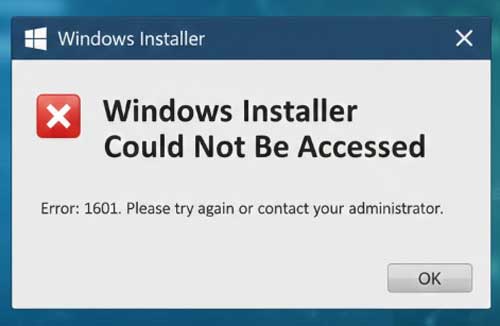
Encountering the error “Windows Installer could not be accessed” is a common roadblock when trying to install or uninstall software (.msi files) in Windows. This error usually triggers when the Windows Installer service, the background engine that manages software installation is disabled, stopped, or its registration has become corrupted.
Whether you’re on Windows 10 or 11, the fix involves making sure the service is active and correctly linked to the system files. Fortunately, you can usually resolve this in a few minutes without a full system reboot.
Step 1: Check the Windows Installer Service
Often, the error occurs simply because the service has been disabled or stopped.
- Press Windows Key + R, type services.msc, and press Enter.
- Scroll down until you find Windows Installer.
- Right-click it and select Start. If it’s already running, right-click and select Restart.
- Double-click the service and ensure the Startup type is set to Manual (this is the Windows default). Click OK.
Step 2: Re-register via Command Prompt If the service is running but you still get the error, the registration of the msiexec engine may be broken. You can refresh this instantly using the Command Prompt:
- Type cmd in the Start menu, right-click the result, and select Run as Administrator.
- Type the following command and press Enter to unregister the service: msiexec /unregister
- Now, type the following command and press Enter to re-register it: msiexec /regserver
- Close the window and try your installation again. No reboot is typically required for this to take effect.
Step 3: Check the Registry Path If Step 2 fails, verify that Windows knows exactly where the installer file is located:
- Press Windows Key + R, type regedit, and press Enter.
- Navigate to: HKEY_LOCAL_MACHINE\SYSTEM\CurrentControlSet\Services\MSIServer
- In the right pane, double-click ImagePath.
- The value should exactly be: %systemroot%\system32\msiexec.exe /V
- If it is different, correct it and restart your computer.
Step 4: Repair System Files (The “Reinstall” Method)
Since the Windows Installer is a core part of the OS in Windows 10 and 11, you cannot download it as a separate installer. If the steps above fail, use the System File Checker to replace missing or damaged installer files.
- Open Command Prompt as Administrator.
- Type sfc /scannow and press Enter.
- Windows will scan all protected system files and replace any corrupt versions of the Windows Installer files automatically.
For additional training resources, check out our online IT training courses.
Check out our extensive IT book series.


