Last Updated on April 7, 2026
If you have been using a computer for any length of time you have most likely run across a PDF file or document and notice that it is one of the most commonly used file formats for sending important documents via email or even for storing them on your computer. Many programs such as Microsoft Office have options to save your files and PDF files making the PDF creation rather simple.
But what if you have some paper documents that you need to save as a PDF file? If you wish to convert your paper documents to digital PDF documents then you will need a scanner and software that can save files in the PDF format. Most of the software that comes with scanners has this capability but if you don’t have that software installed and cant find your installation media then thankfully there is a free app that you can install from the Microsoft Store that is included with Windows 10 that will get the job done.
1. Download the App from the Microsoft Store
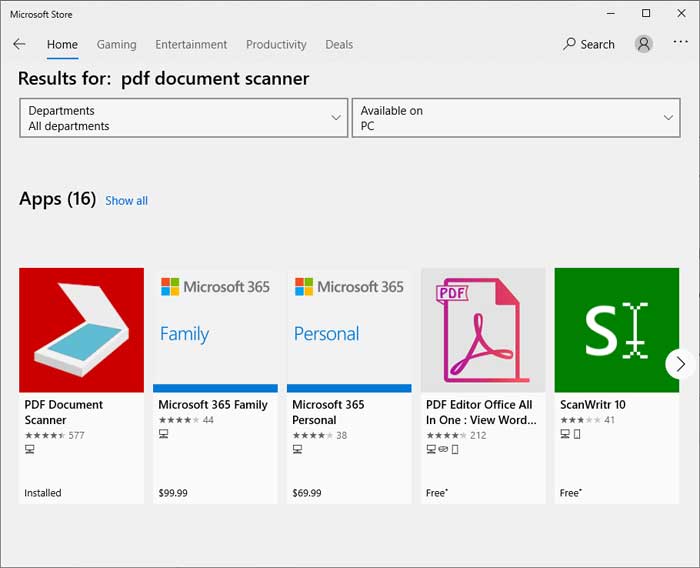
Open the Microsoft Store by typing the name into your Windows search box on the taskbar. You will be able to do a quick search for PDF Document Scanner to find the correct application. Click on the specific app with the scanner image and the bright red background as seen below and choose to install it onto your system.
2. Start a New Scan Project
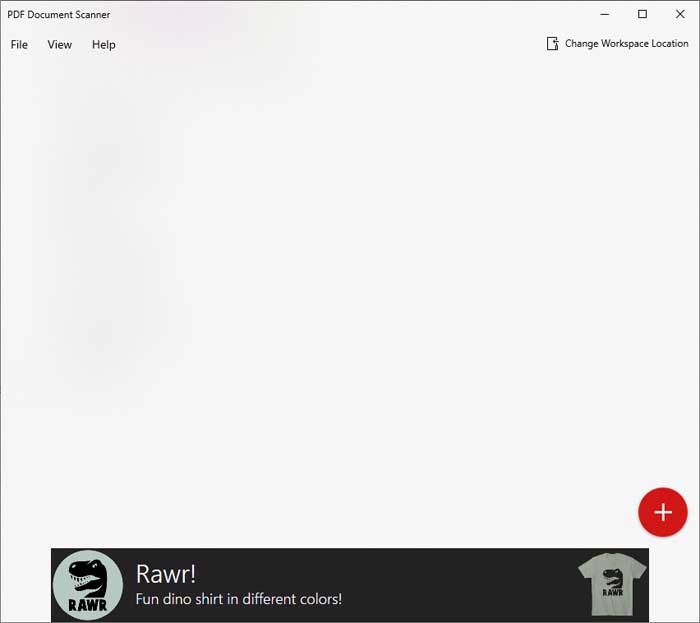
Once the application finishes installing you will see a completely blank workspace on your screen. To start your very first scan you will need to click on the + symbol located inside the red circle at the bottom right. This action opens up the main scanning interface to begin importing your physical pages.
3. Select Your Import Source
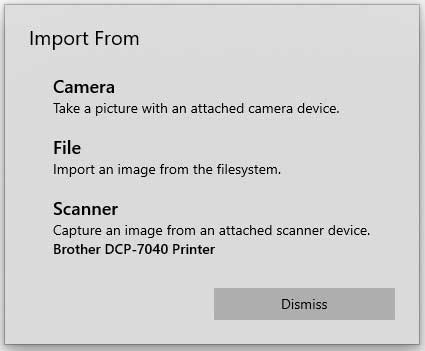
Then you will be presented with a few distinct options for where you want to pull your scan from. You can use an attached web camera to snap a picture. You also have the choice to import an existing image file for PDF conversion or simply use your attached hardware scanner.
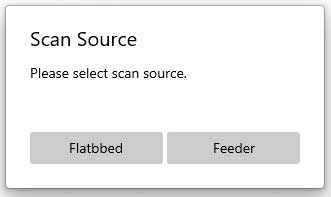
4. Choose Flatbed or Document Feeder
Once you click on your scanner you will be immediately prompted to choose the exact source of the physical scan. If you have a document feeder and want to have multiple pages scanned at once you can choose the Feeder option. Otherwise you will choose the flatbed option to have the document scanned directly from the glass itself.
5. Wait for the Scanning Process
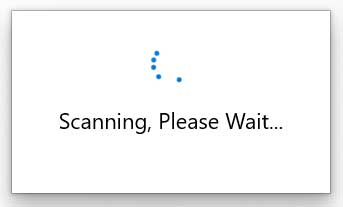
Then the app will automatically start the scanning process to pull the image into your computer. The total time it takes will depend heavily on the mechanical speed of your scanner hardware. The number of pages you are scanning at one time will also affect this wait time.
6. Review and Edit Your Scanned Pages
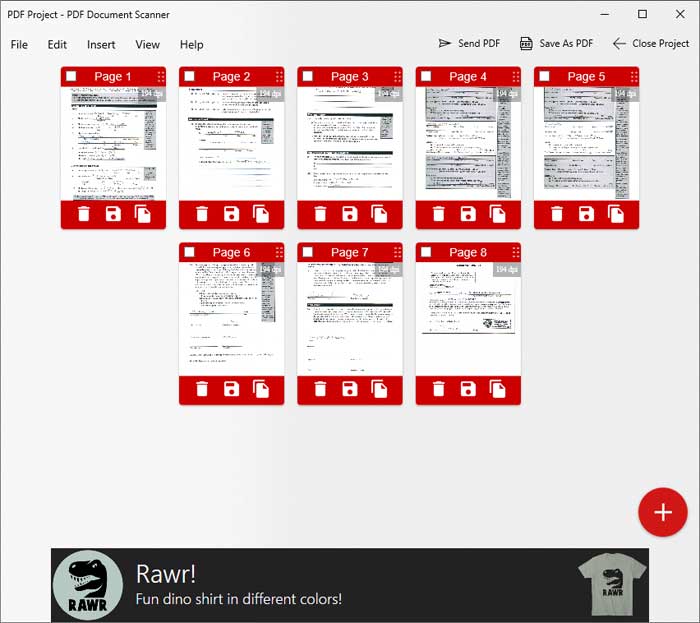
Once the scan is complete you will be shown all of the individual pages that were scanned into this one project. From here you can do helpful things such as delete, export or duplicate certain pages before finalizing the file. Clicking on a specific page will show you exactly what that page looks like in a much larger view. Clicking on the + button will allow you to scan additional pages and save them in your current project. They can then be exported in addition to the original pages that you initially scanned.
7. Save Your Document as a PDF
If you want to export all of the collected pages into a single PDF file then you can click on the Save As PDF button. The application will prompt you to choose a custom name for the PDF file. You will also select a specific location on your computer hard drive where you would like to save it and that is all there is to it.
8. Share Your PDF Document
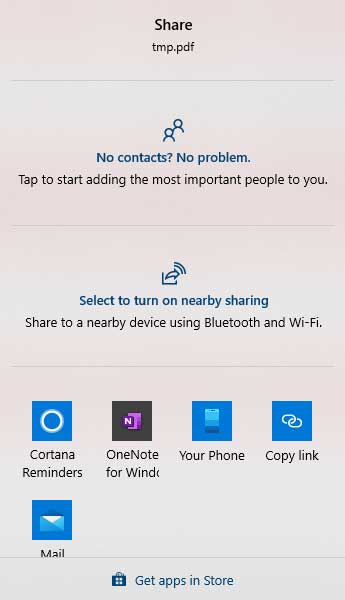
Another excellent option you have is to share your finished scan via email or other digital methods directly from the app. This action can be done by clicking on the Send as PDF option at the top of the screen. Once you do this you will see a menu of sharing choices similar to the image below. Your specific options will vary based on how y
9. Manage Your Saved Projects
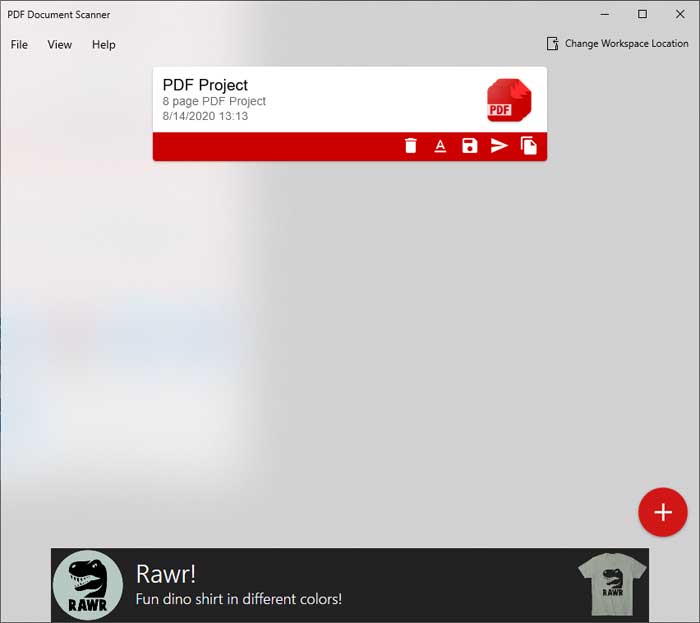
When you are completely done with the PDF export process you can then click on Close Project to be taken back to the main screen. You will notice now that your recent scan is saved as an individual project which will be called PDF Project by default. It will also show you exactly how many pages the project consists of and the exact date and time it was created.
From here you can use the small icons below the project name to do things such as delete, rename, export, send and copy the file. Once you scan additional documents they will be saved as separate projects in this main section. It is a very good idea to name your projects accurately to keep them organized. If it is a one time scan then you can simply delete the project entirely after you are done with it. Clicking on Change Workspace Location will change the default storage folder on your hard drive that is used for saving your raw projects.