Almost everyone who uses a computer has needed to print a document or picture at some time or another. But in order to do so you first need to have a printer installed on your computer. For the most part this is a pretty simple task that requires connecting the printer to the computer with the appropriate cable and installing the software driver off the included CD or you may have to download it from the manufacturers website.
To install a printer in Windows you first need to determine what type of printer it is. It will most likely be one of three types, a parallel, USB or a network/wireless printer. A network printer can be connected to another computer or plugged directly into the network with an Ethernet cable.
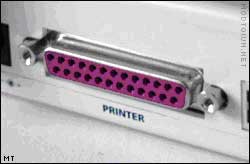
A parallel printer will be an older printer that uses a parallel port and cable like shown. You wont see too many of these around anymore except on older printers. Many new computers don’t even come with parallel ports anymore.
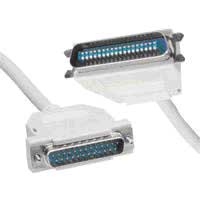
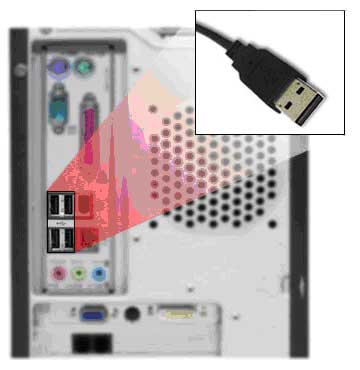
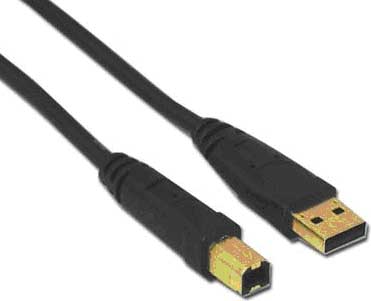
Newer printers use USB ports and cables.
Networked Printers
A networked printer is a printer that is not connected to your computer but instead connected to another computer or a print server and then shared over the network or installed by connecting it to a network port using an IP address. This way multiple users can use the same printer.
There are a few ways to install a printer in Windows. The most common way is to go to Start, Settings then Printers (or Devices and Printers) and click on Add Printer.
When the Add Printer Wizard starts, click on Next. You will then see the following screen.
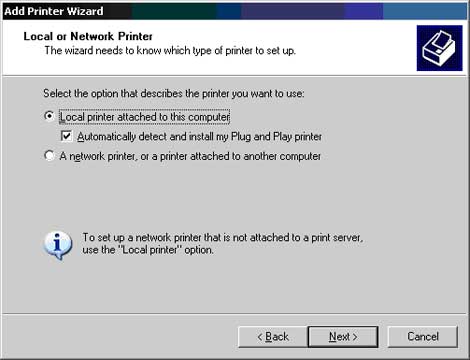
If it’s a printer such as a parallel or USB printer plugged directly into your computer then you would choose Local printer attached to this computer . If you leave the Automatically detect and install my Plug and Play printer box checked, Windows will search its driver database to see if it already has the drivers needed for your printer.
If you are installing a printer that is connected to another computer or print server then you would choose the network printer option.
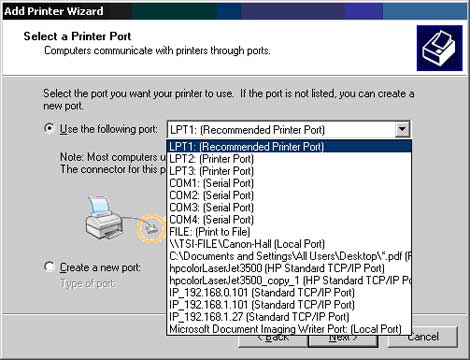
Next you will be asked what port you want to use. Most local printers will use LPT1.
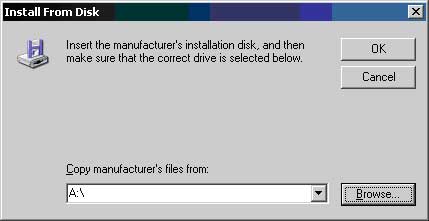
Then you can either pick your printer from the list of available models or if it’s not listed you can click on Have Disk to install your driver from your manufacturer supplied disk.
If you have an active internet connection you can also try the Windows Update option depending on your version of Windows. This will connect to the Windows Update site to try and find the right driver for you.
Once Windows finds the drivers it needs it should install the printer and you will be ready to print!
If you need to install a printer connected to another computer or print server over the network you would then choose the A network printer, or a printer connected to another computer option. Click Next and you will be presented with a similar screen as shown below.

The first option will only be there if your computer is part of an Active Directory Domain which can list installed network printers making it easy to install them on workstations.
The second option allows you to browse to the computer or print server that is hosting the printer or you can manually type in the UNC (Universal Naming Convention) path.
The third option allows you to connect to a printer over the internet such as your office printer if you want to print from home to the office.
***Many times all you need to do to install your printer is insert your disk that came with your printer and follow the prompts perform the installation.***
A final type of printer that is gaining popularity are wireless printers. These don’t require any cable connections at all and use the same wireless device that you use for your wireless Internet access. Most of these printers will come with installation CDs that walk you through the connection process.